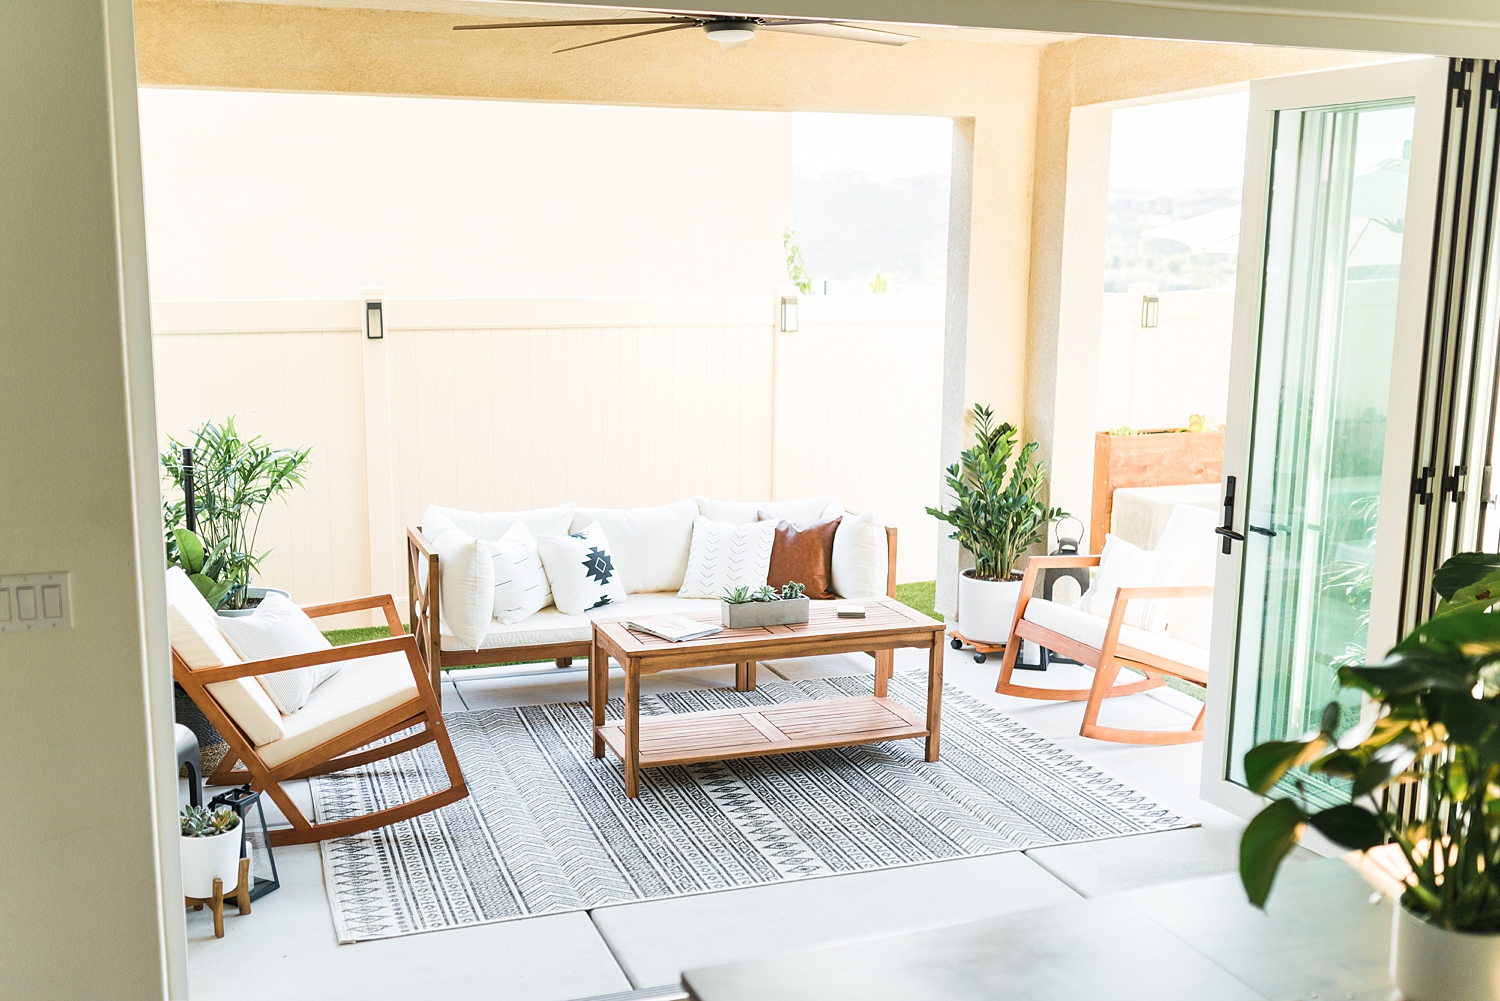
Oh, man! I can’t believe this blog post is finally happening, I’m finally sharing our modern backyard makeover! As many of you know we became homeowners a year ago and while there are many joys in being a new homeowner there’s also the downside of having to build your backyard from scratch. Wait, is it a makeover if you are starting from scratch? Anyway!
Escrow closed on June 1st of 2019 and we *finally* started construction on our backyard this May of 2020.
David and I had a general idea of what we wanted right off the bat. Thankfully that part was easy, we have very common likes and dislikes when it comes to these types of decisions. A few things did change however, initially, David wanted a spa and later changed his mind to a custom outdoor kitchen, woohoo! Modern Backyard makeover
After deciding on the main things we wanted in our backyard, I went ahead and started the design and created a mood board for our backyard. David trusted me to take on the design aspect of the project, bless his heart, and I’m really glad it all worked out in the end because there were a few moments when I definitely doubted myself. We ran into some pretty big “oh crap” moments, design-wise, during the construction process but in the end, it all turned out the way I envisioned it and David loved the outcome, yay!
Many of you are here because you followed along on Instagram as I shared almost every step of the process there. If you would like to see the process from beginning to end and all the fun updates, I created a highlight named “Our Home” on Instagram where you can check that out.
Thank you SO much for being part of that journey with us.
There were a lot of questions during that process so that is the main purpose of this blog post. I asked on Instagram what you guys wanted to know and I’m diving in and sharing all of the details! Just for you guys 😉 Modern Backyard makeover
While our backyard is not 100% completed, I was just too excited to finally be done with all the major components and we were totally ready to share it already after a year of planning! I’m going to link everything for you guys and explain everything we ourselves built vs. what was contracted out and how we transformed our backyard from this…
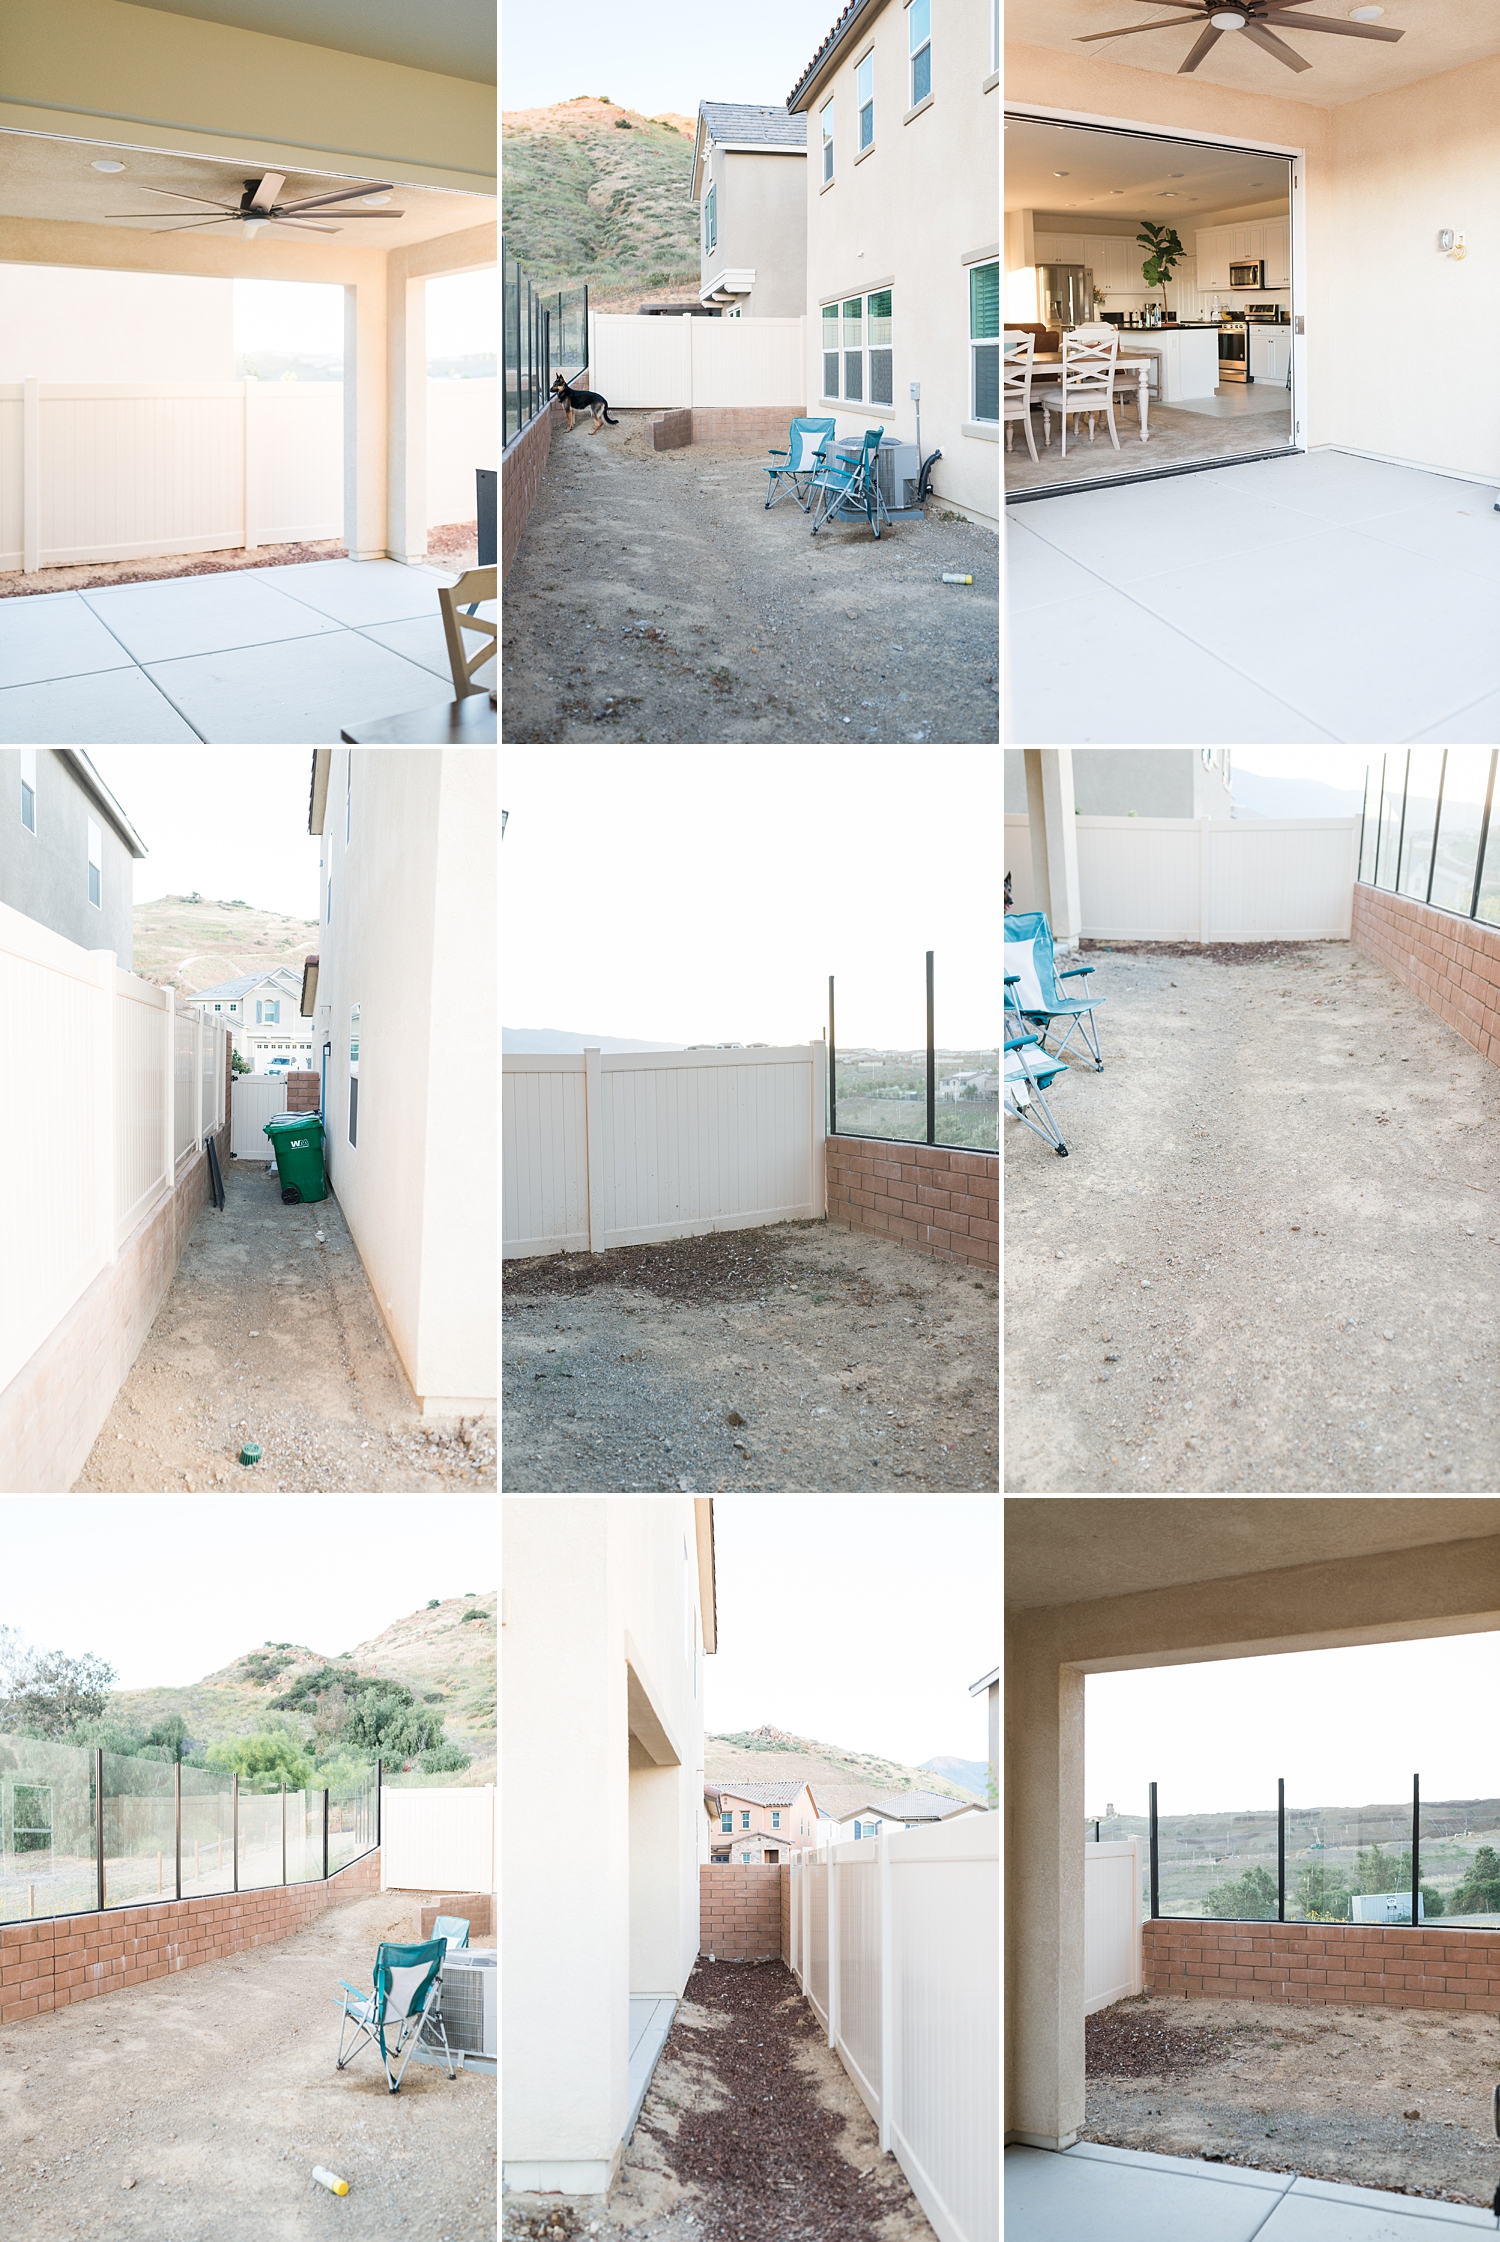
To this… Modern Backyard makeover 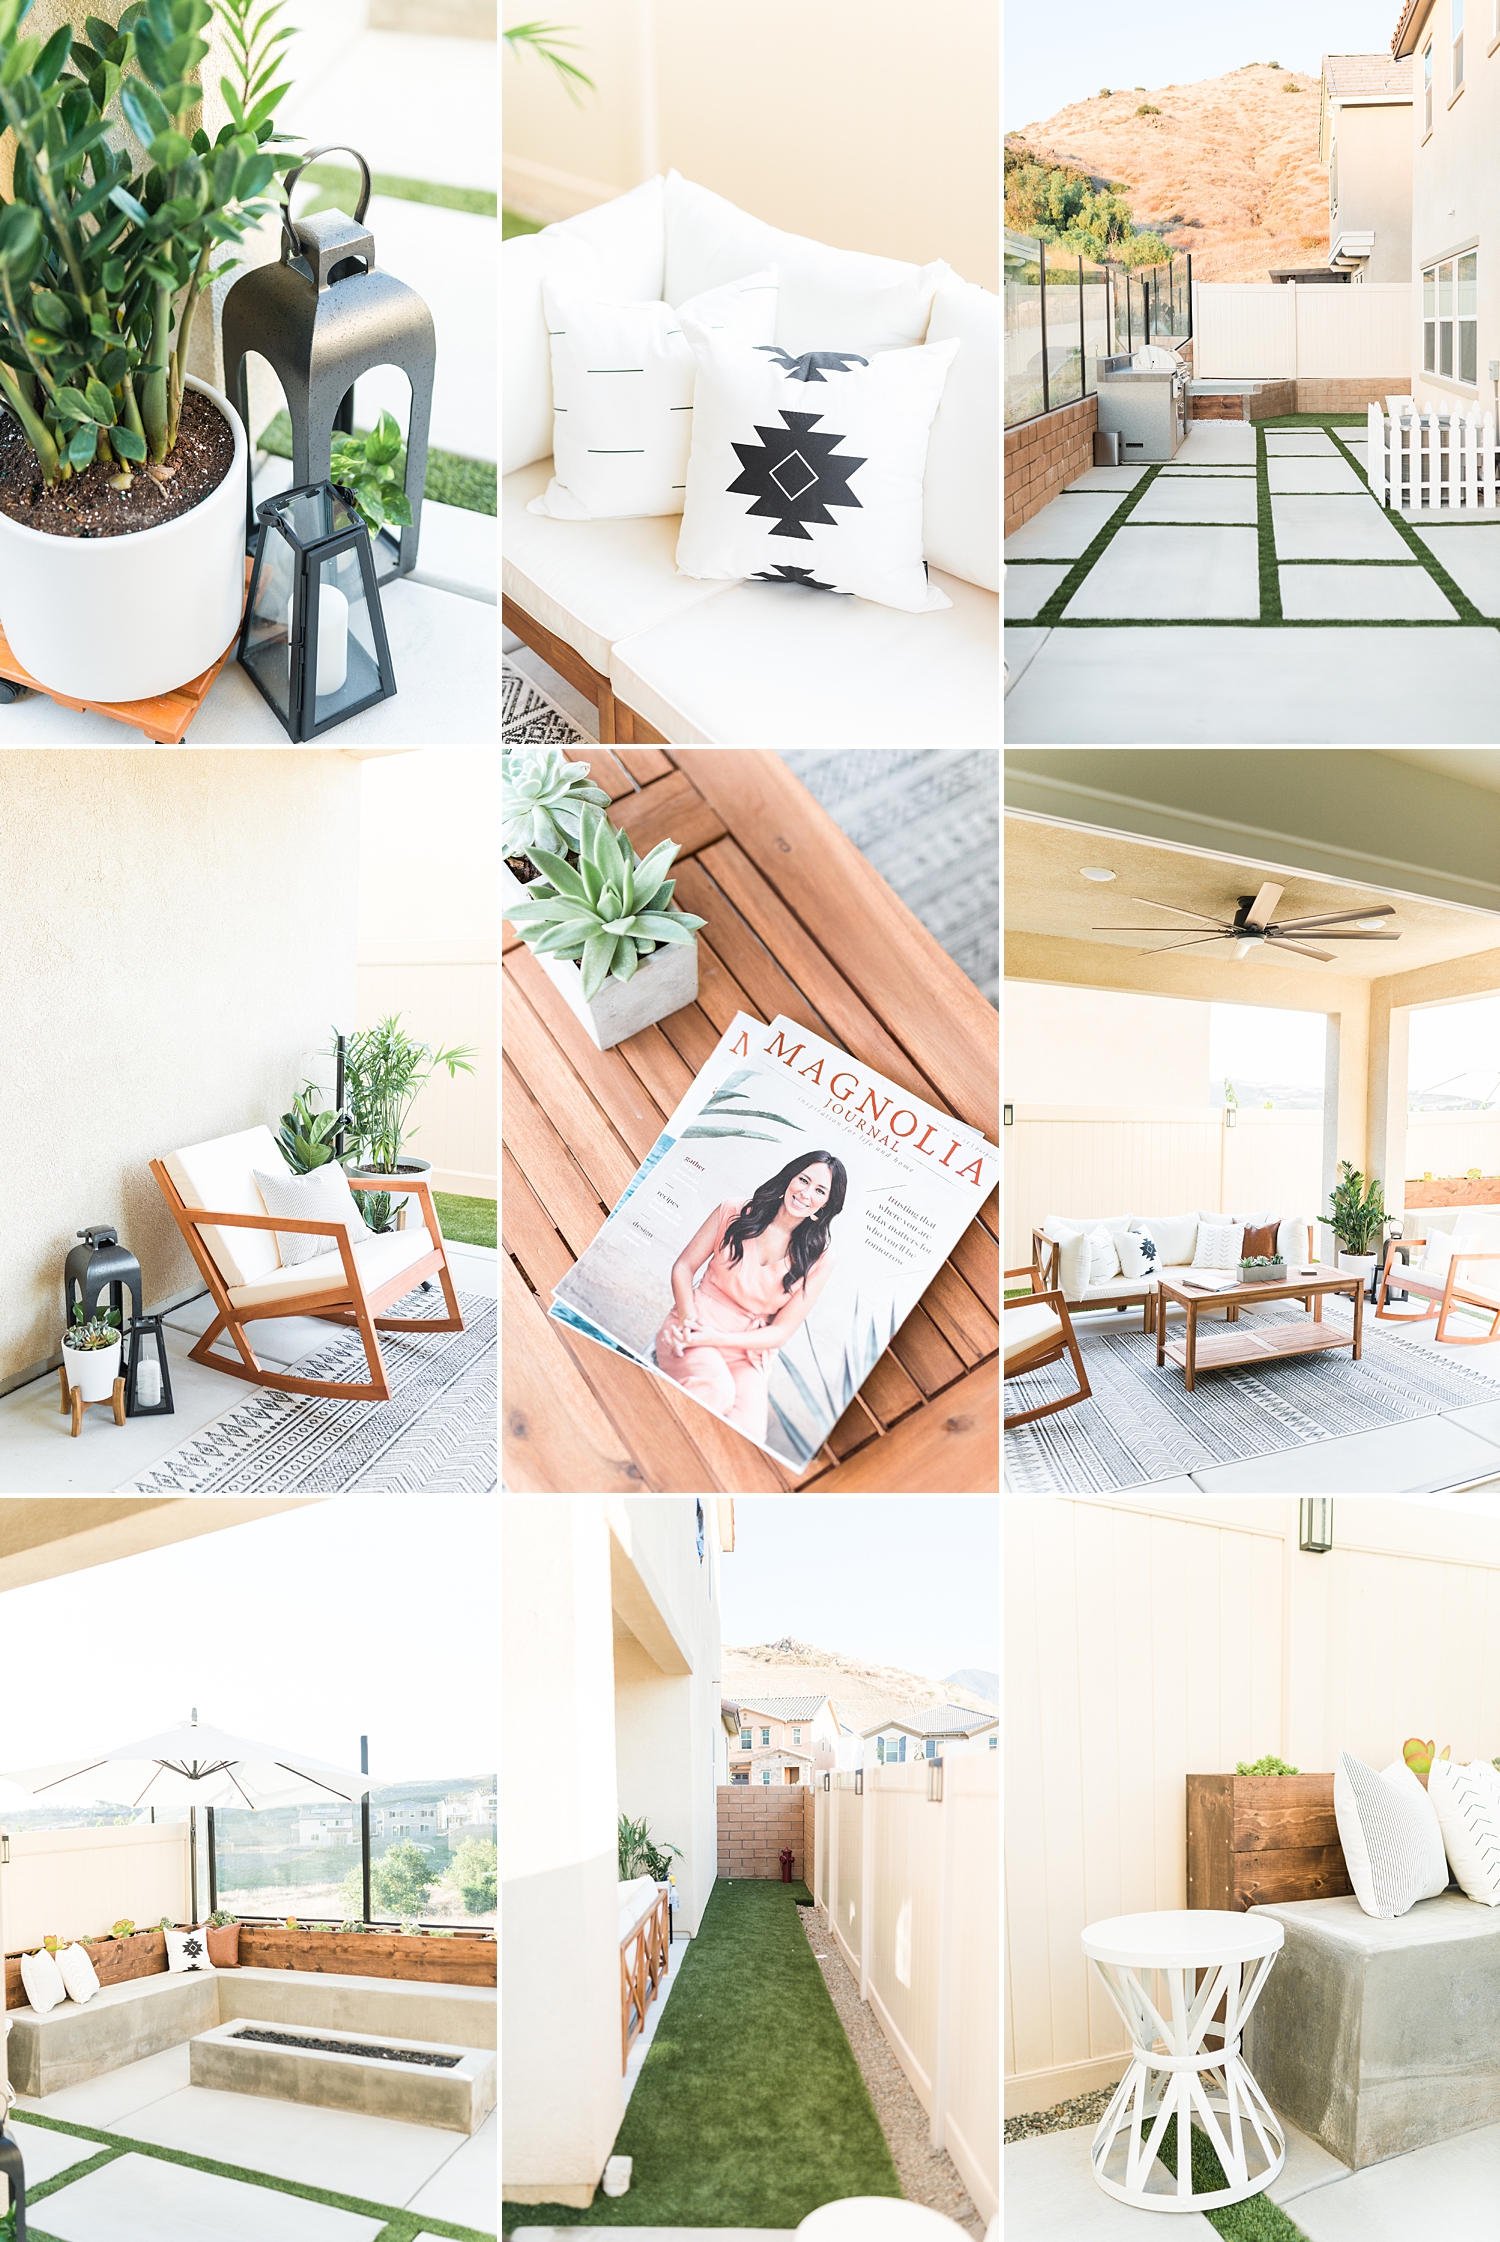
The Design
This was the mood board I created as inspiration for the backyard and what I was hoping to follow design-wise. I’m a very visual person, so starting with a design board was essential! It also allowed me to show it to David and run it by him before we started construction. Up until this point he had only seen the random photos I showed him from magazines, tv, and of course Pinterest.
The design consisted of white and wood elements, black metal accents, greys (to be incorporated only in the cement work), and a lot of greenery. I wanted a modern yet classic and cozy feel to our yard.

Our New Backyard
Our home already had a built-in patio area. This was the only part of the backyard that was already there. We have these beautiful accordion doors (my favorite thing about our new home!) that lead from our kitchen to our dining room and finally into our backyard. I wanted to have those transitions flow all the way from the kitchen to the firepit area.
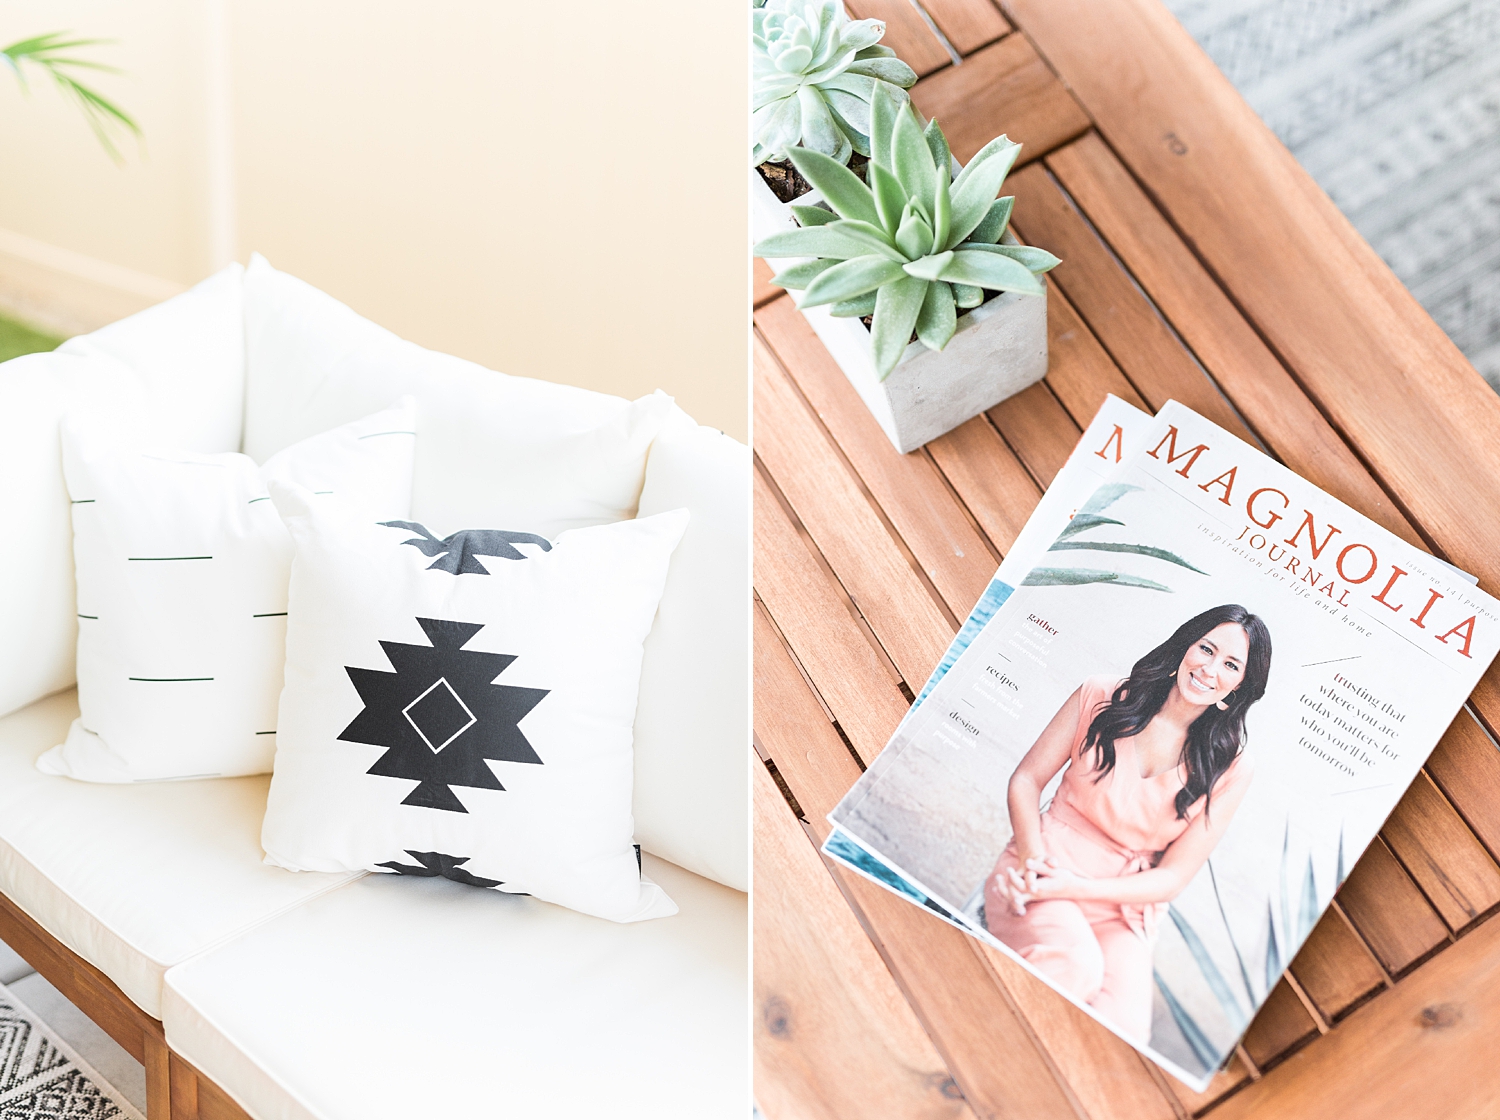
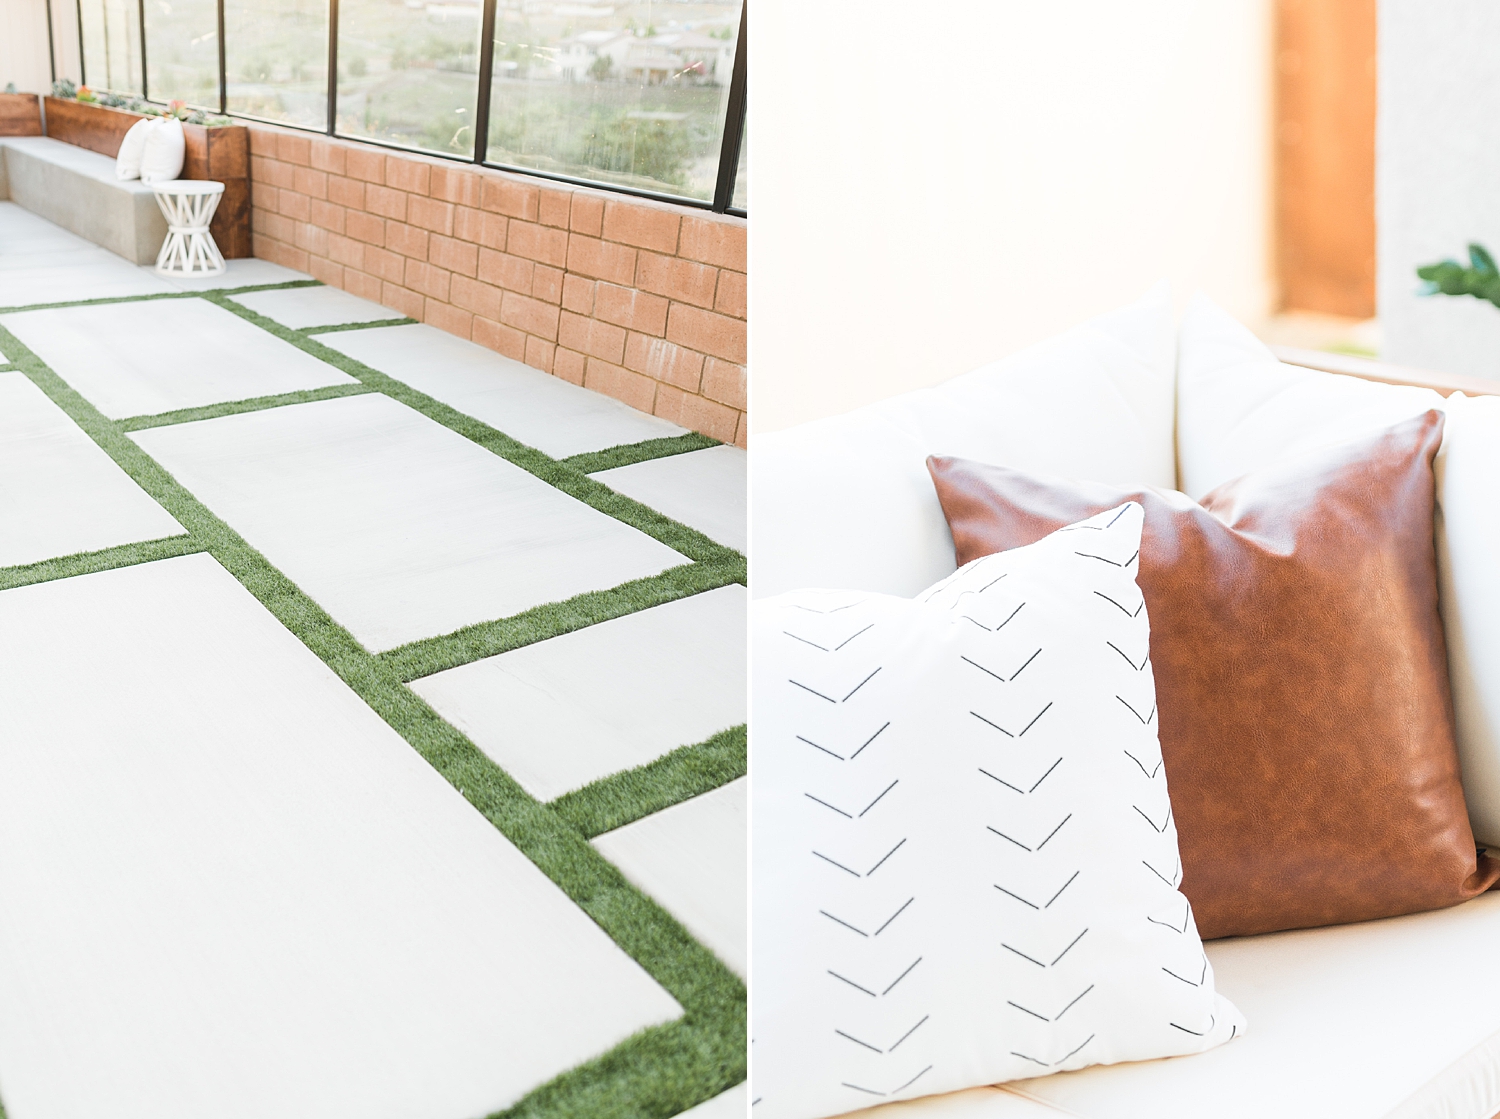
These decorative pillowcases were a set of 6 and they matched the design perfectly! I ordered outdoor pillow inserts to use with those that are waterproof, mildew proof, all the outdoor stuff proof 😉
The magnolia journals can be found here. I obviously got most of my inspiration from the gorgeous JoJo!
Cement planter was from Home Depot and it paired perfectly considering the number of concrete elements we had going in. All of our plants also came from Home Depot. I would have loved to purchase plants from a local nursery instead but unfortunately, we started building our backyard at the peak of Covid-19 here in CA, and finding anything that was open besides Home Depot and Target was basically impossible.
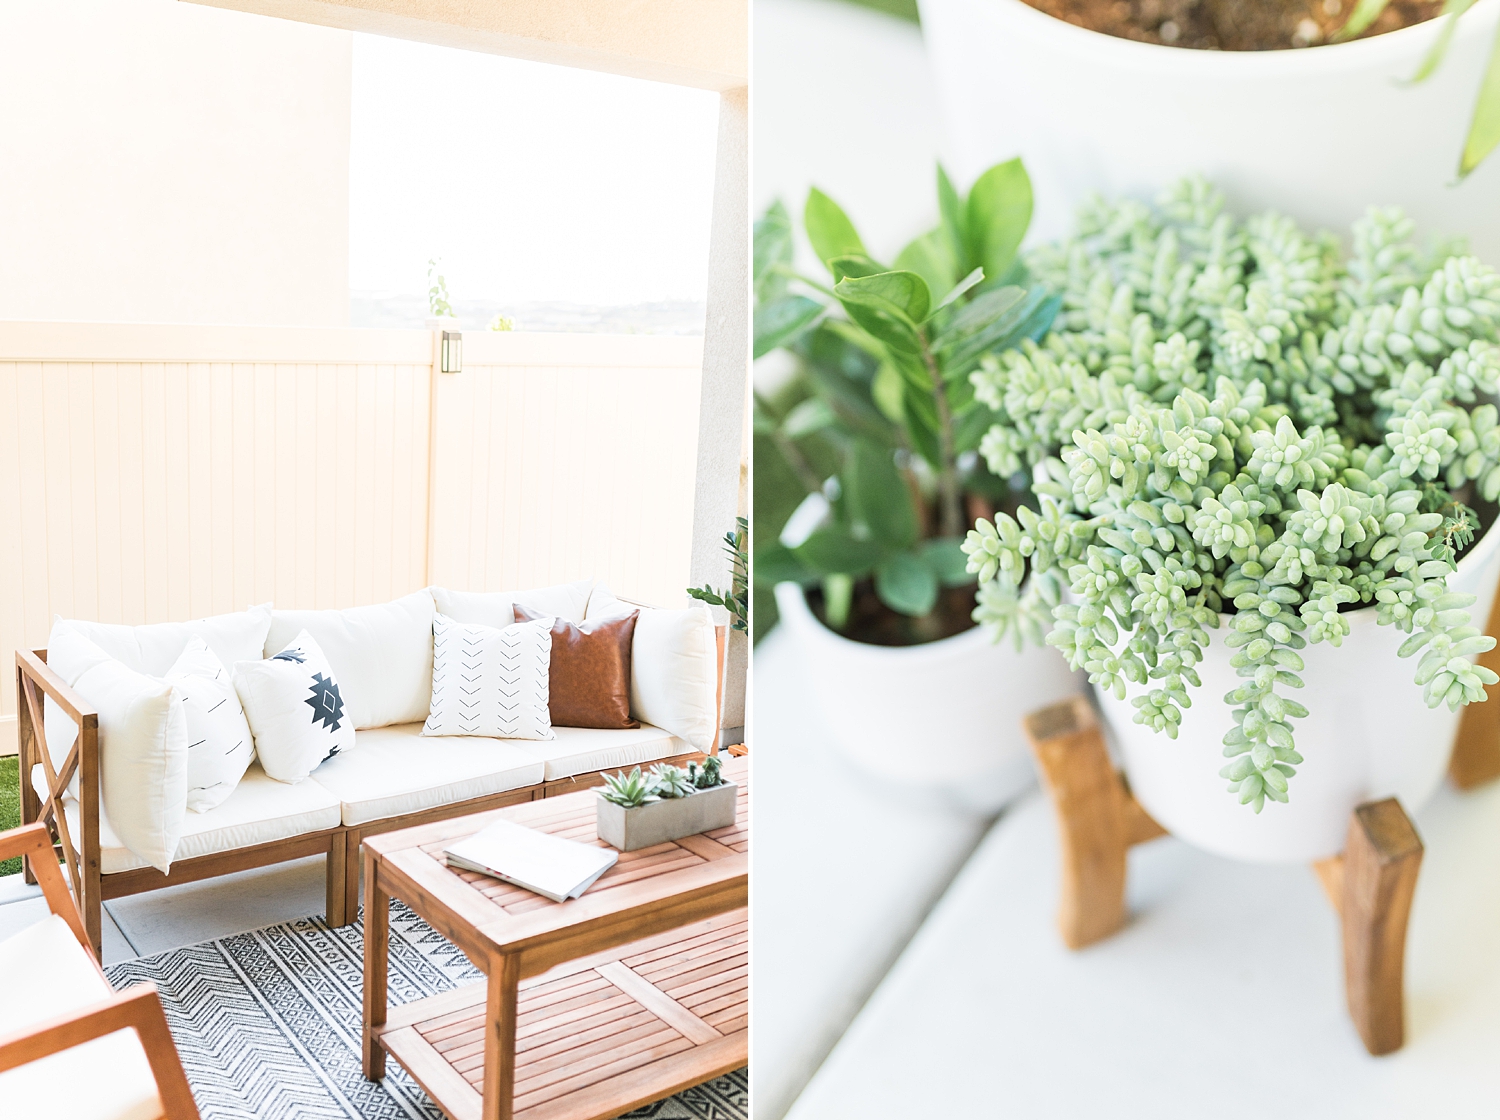
Our adorable outdoor sofa can be found at Lowes, Home Depot, or Amazon! We purchased it from Amazon – it was sold out everywhere else! While I do love this sofa, I wish the bottom cushions were a tad thicker, or that the sofa would be just a couple inches taller. However, for the space we had to work with it was perfect.
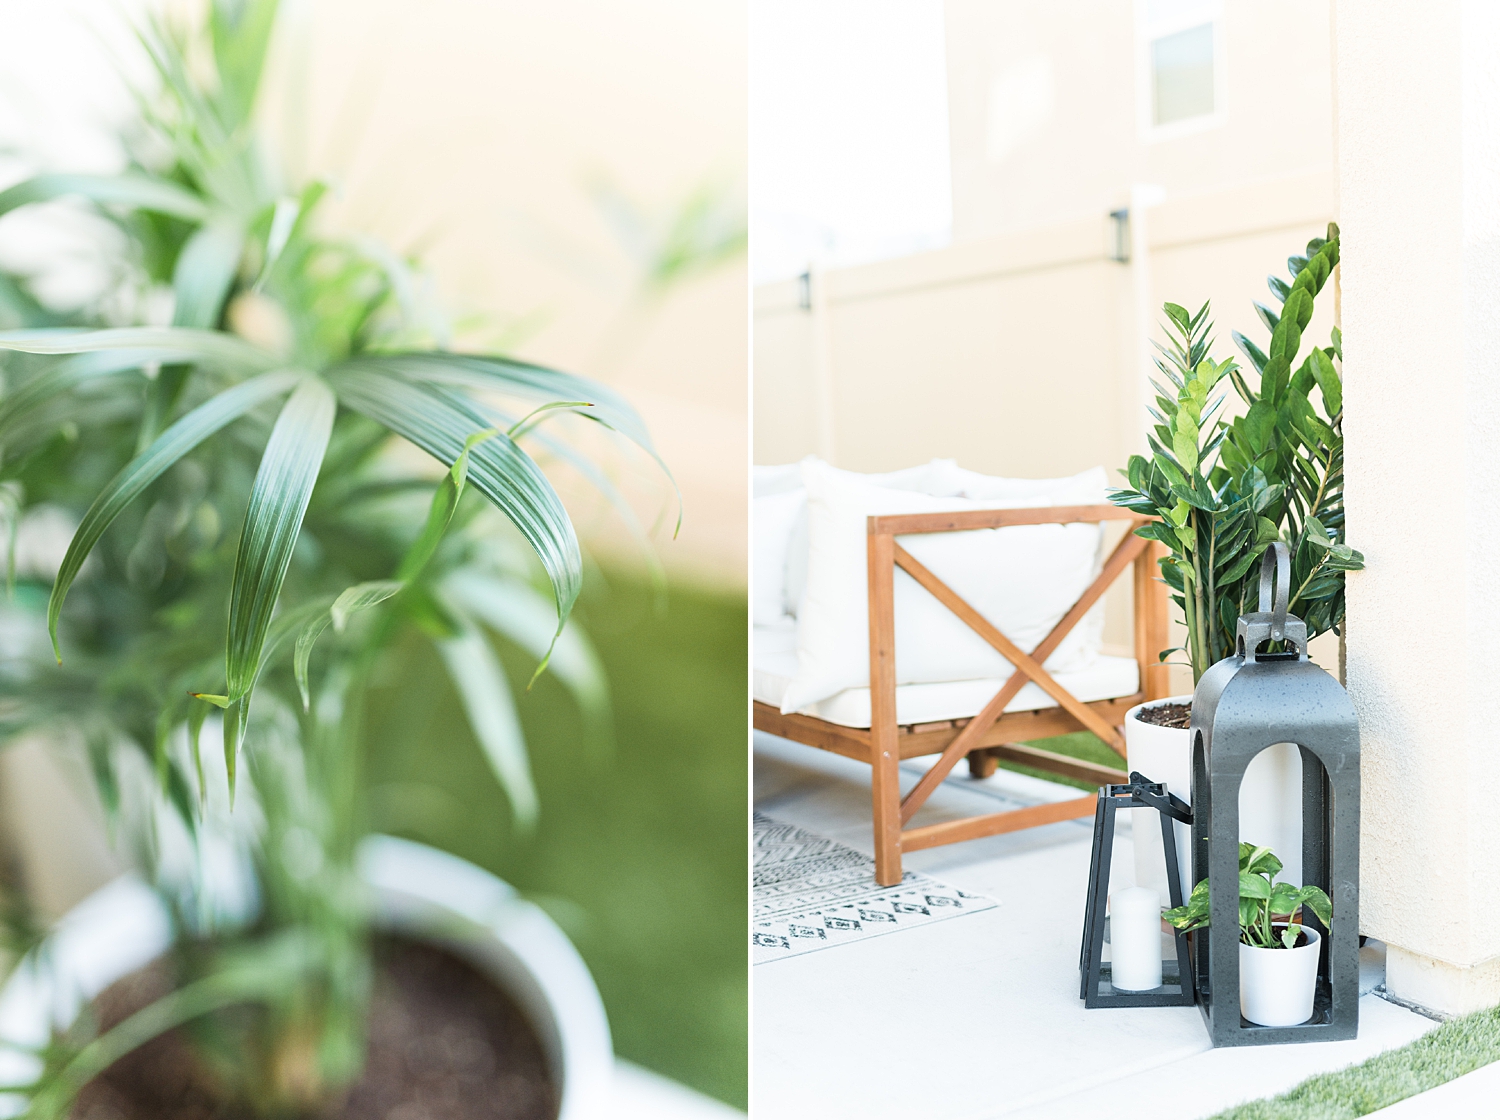
Greenery was super important to me, I really wanted our backyard to feel “homey” and relaxing – greenery does that! Not to mention the color and dimension it adds to any space.
Our lanterns were from Target! The larger lantern can be found in their patio area and while they’re originally $80 dollars each, I purchased them on clearance for a fraction of that cost! The smaller lantern can be found in the Magnolia Hearth and Hand section.
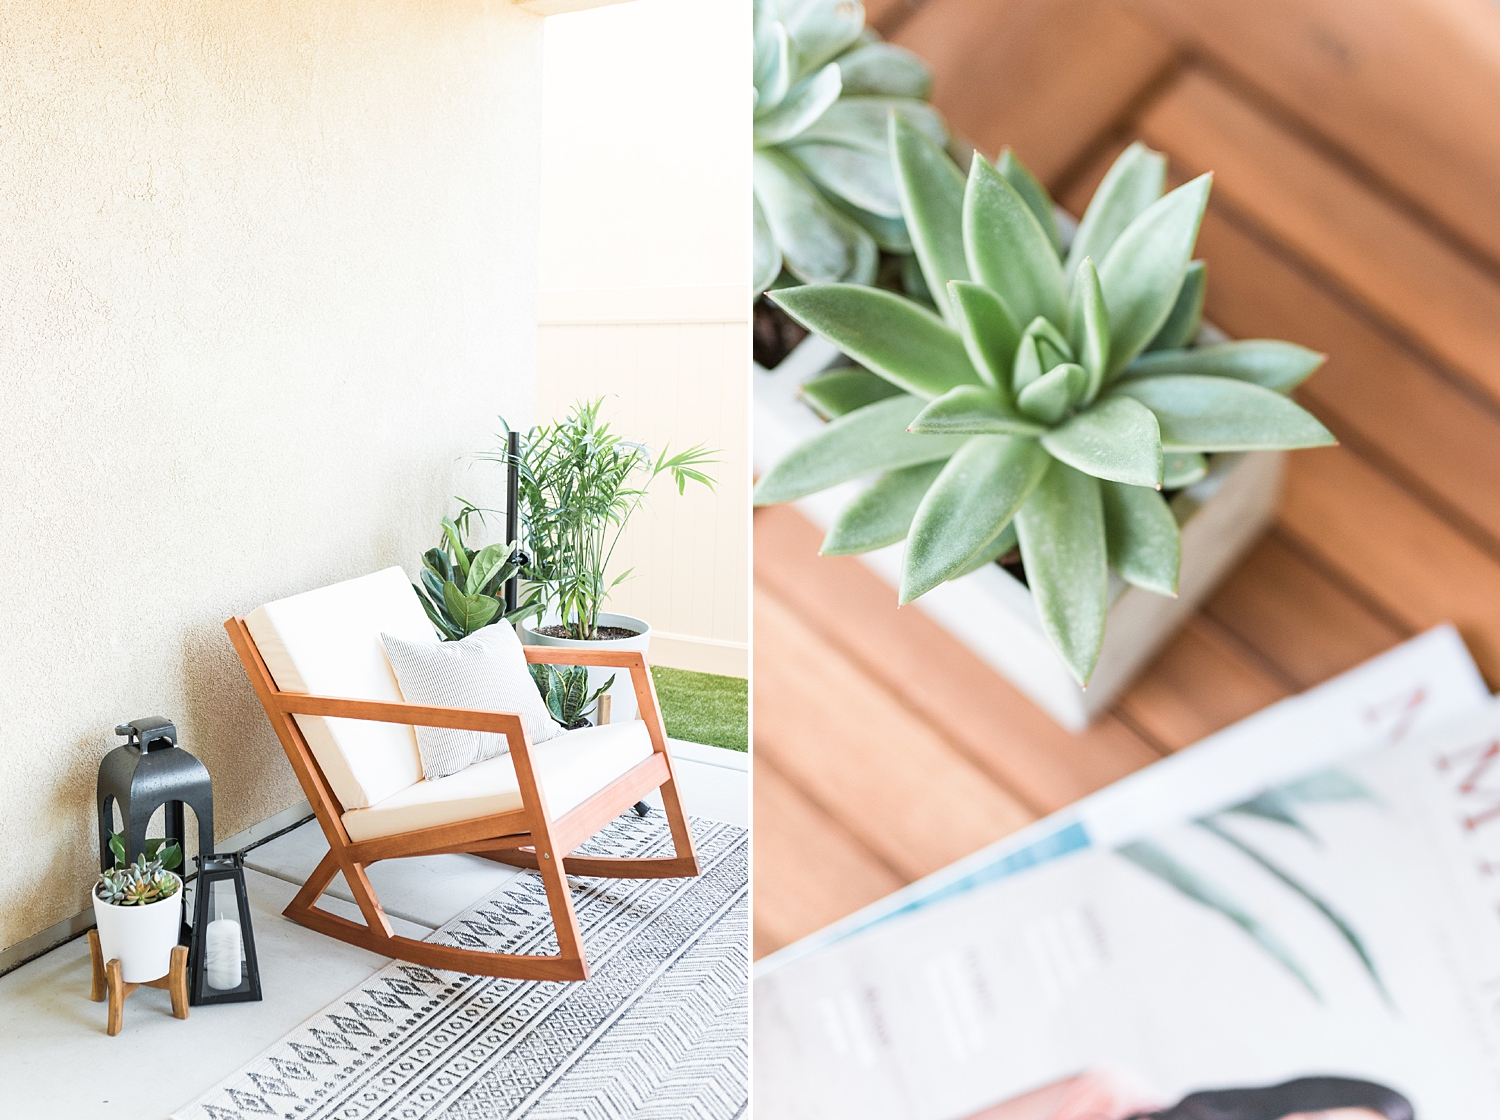
David only requested one design item, a rocking chair, or a form of one. He found a chair that looked identical to this for a woping $550 – I wasn’t going to pay that. I found these on Amazon and I kid you not, they were identicle to the ones David showed me!
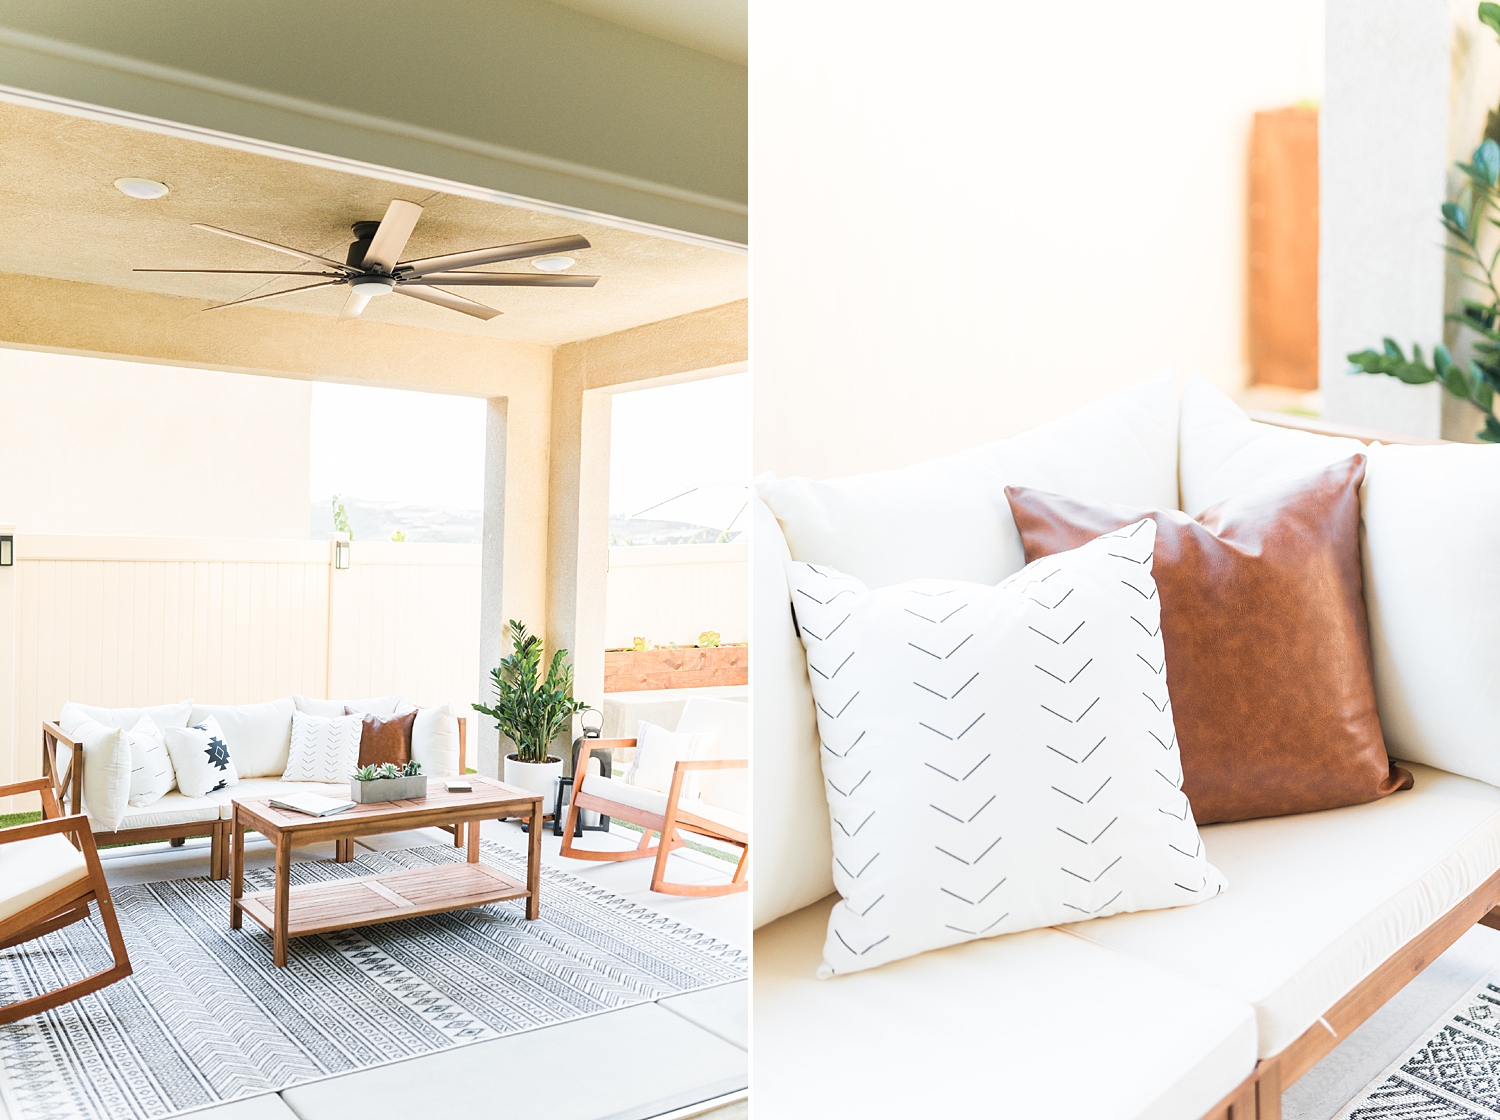
The outdoor coffee table was also from, you guessed it, Amazon!
This is what happens when you build a backyard during Covid-19. The table is very inexpensive but it’s also the one item in our backyard that isn’t that great of quality. It wasn’t as sturdy as it should have been for an outdoor coffee table. However, we were able to reinforce it ourselves with some extra screws and it’s perfect.
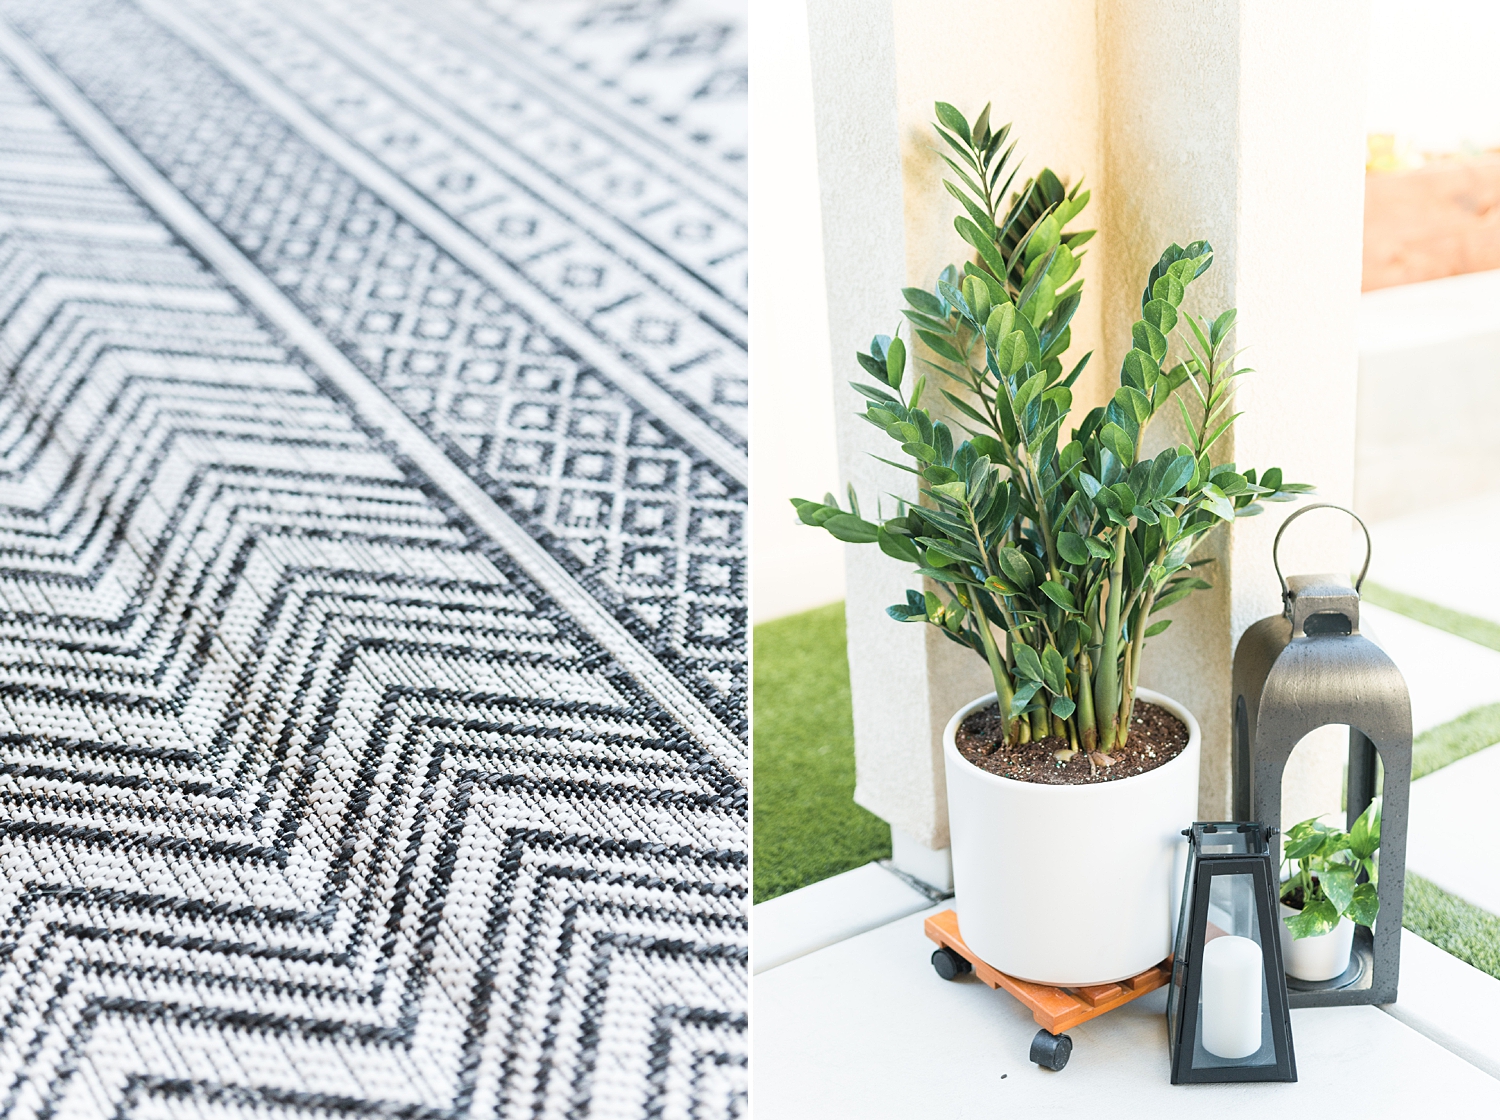
The rug (up close pattern is shown above) is from overstock.com, it really gave the space the perfect pop. I also feel like any space that has a rug in it feels more inviting. The perfect addtion to our modern backyard makeover!
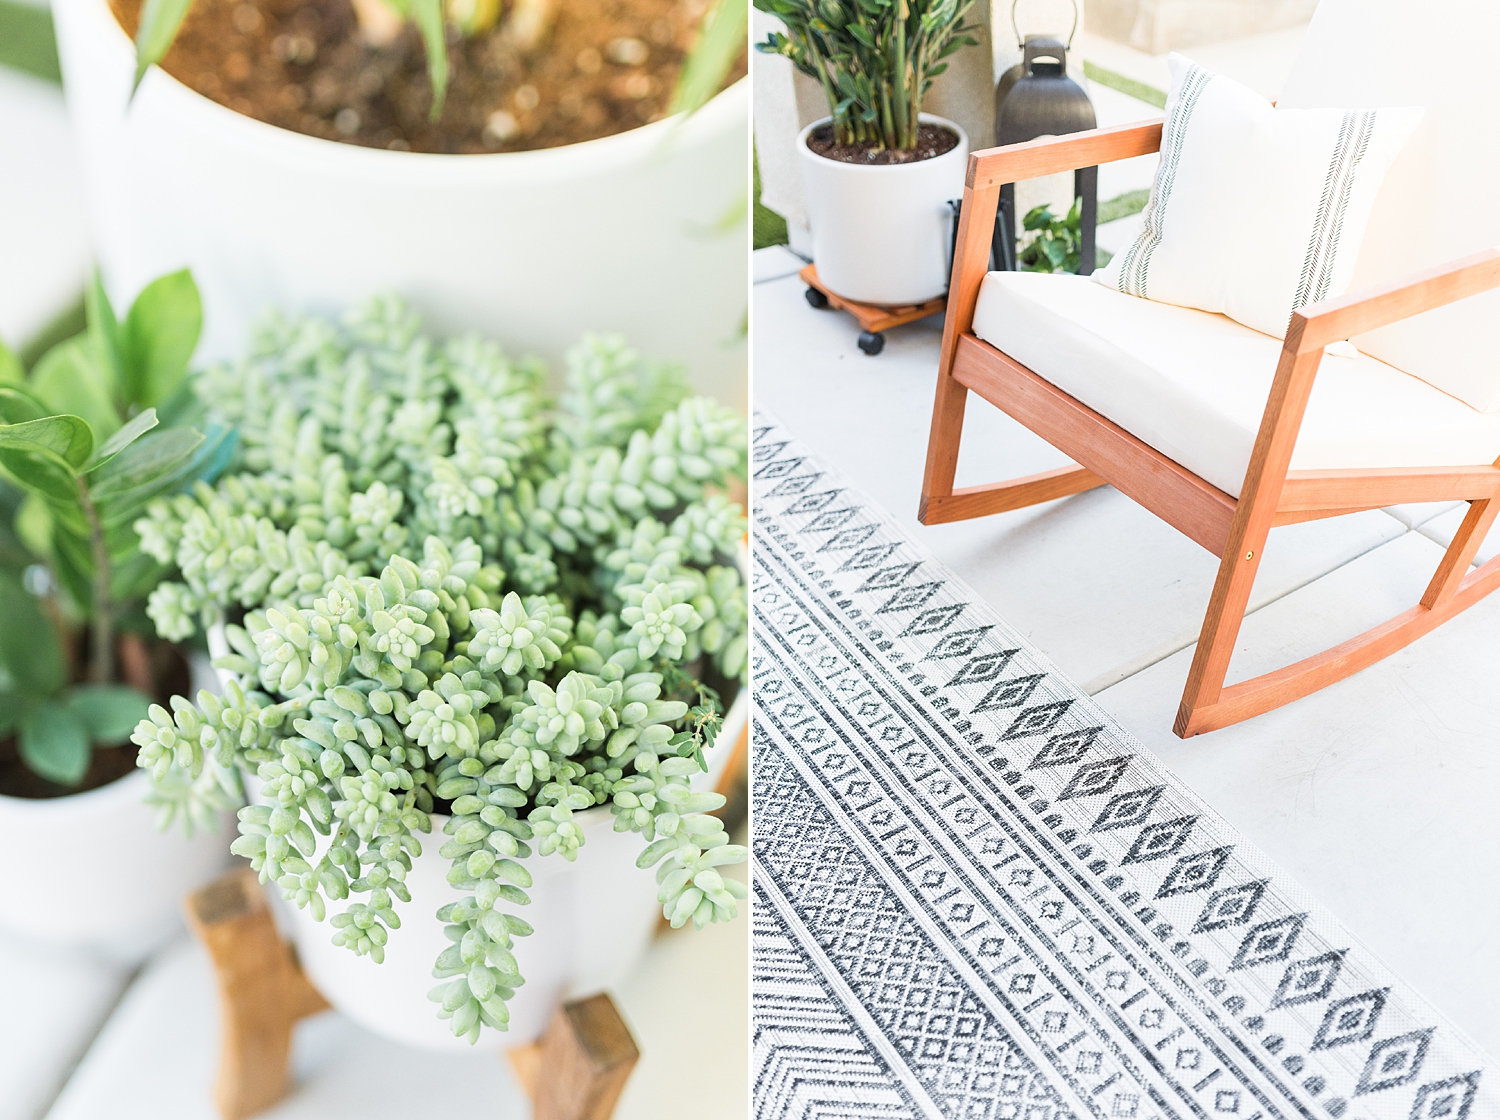
Above is a different angle of the outdoor rug and its various patterns. I love it! It’s also easy to clean with a pressure washer! I love anything that includes an easy cleanup!
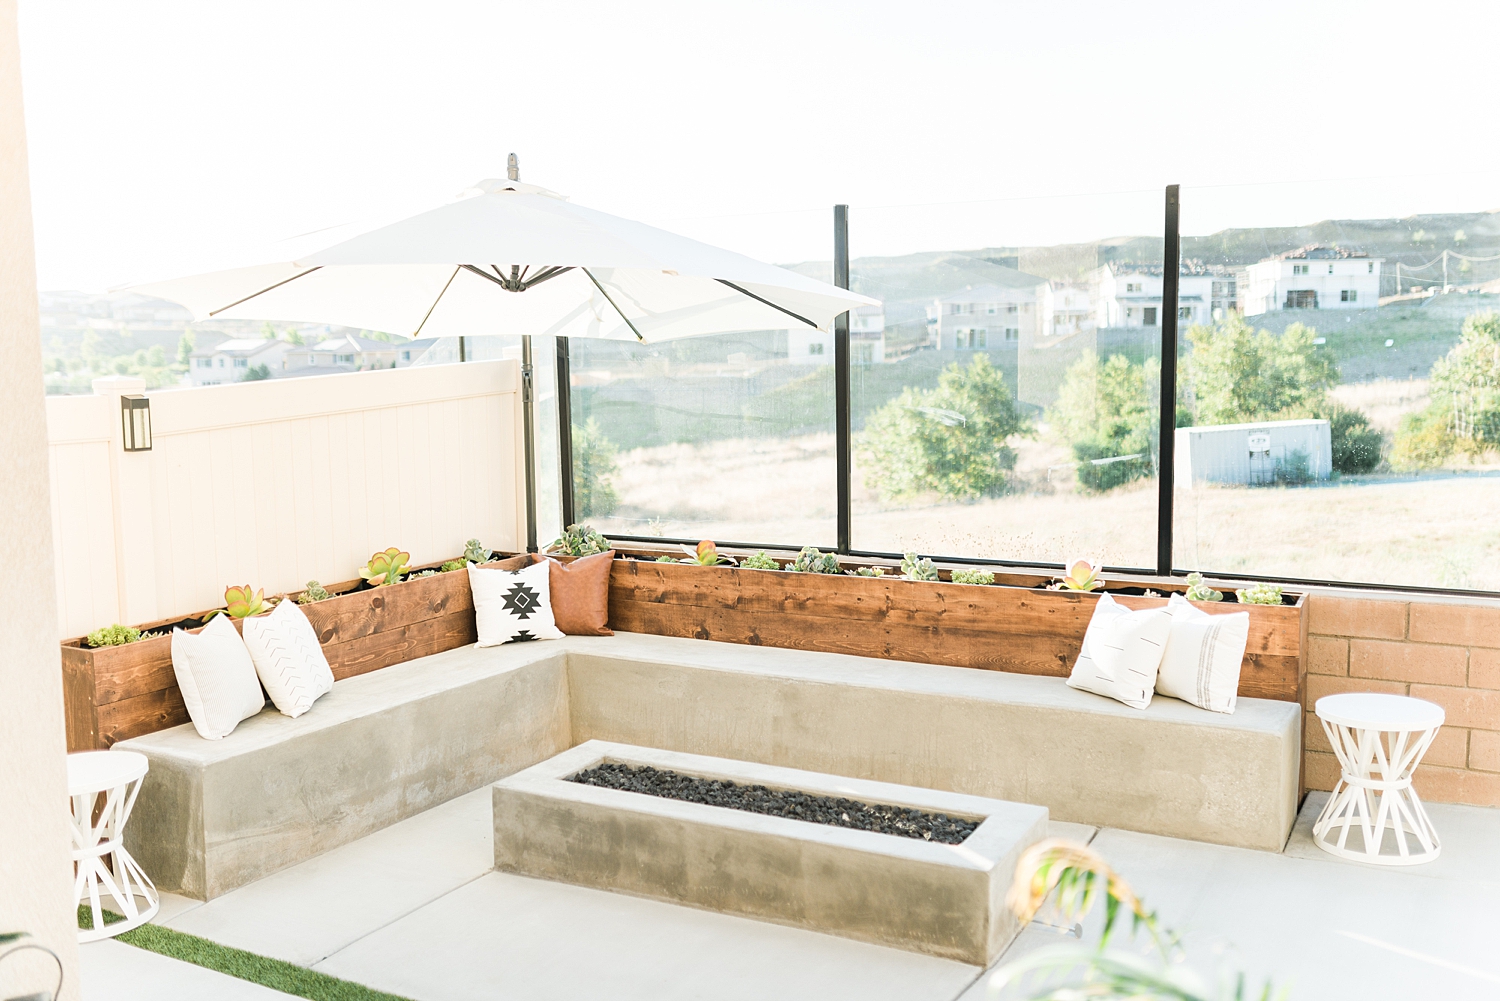
Ahh, my favorite park of the backyard!
It was SO stinking rewarding to see this come together. I felt like it belonged in a resort. All of the cement work was one of the two items that we contracted out (obviously!). Certain things should be left to the professionals and the cement work was definitely one of those things! We hired a cement contractor who also installed natural gas lines, water lines, and electrical lines under all of that cement work.
I designed all of the cement work (seat wall, fire pit, pavers) and presented it to our contractor. He definitely questioned some of it but I persisted ;). I thought it would fit a modern backyard very well! The seat wall is in fact solid cement, we have gotten that question pretty often! The space was filled with some broken cinderblocks to reduce some of the weight I believe but it’s basically 80% solid concrete I would say – they arent going anywhere!
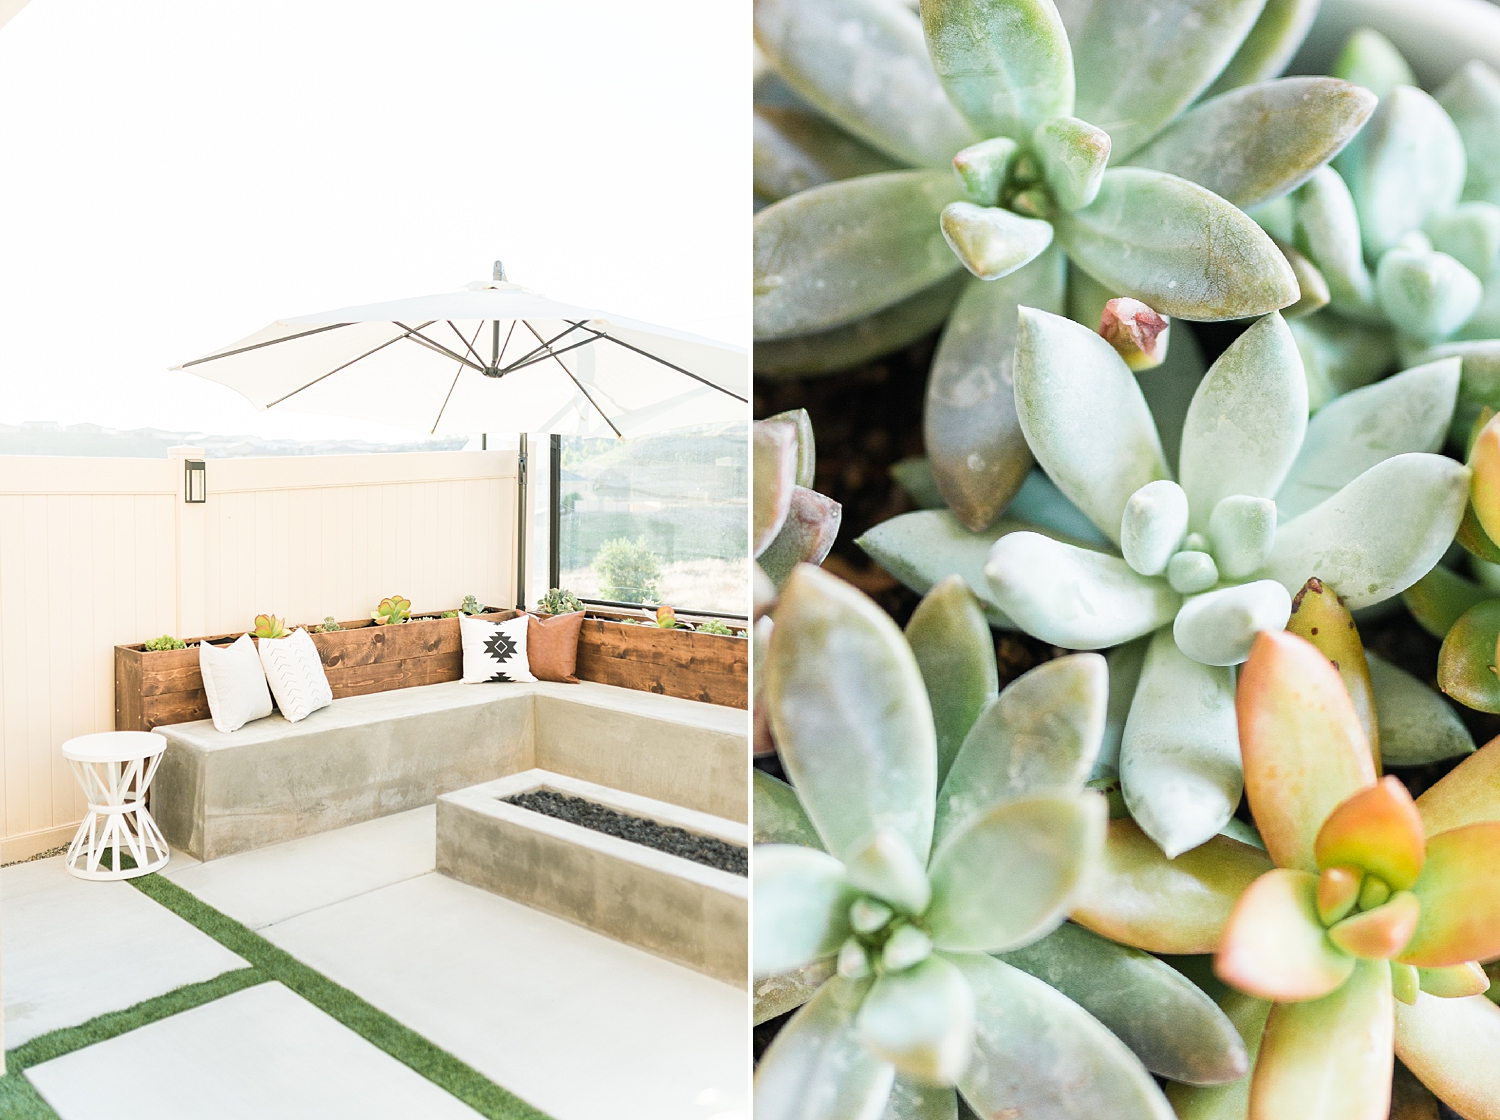
I planted succulents in the planter boxes that David built. We definitely needed plants that are sun tolerant and do well in hot weather because of the temps we reach here in the summertime. Also, I just love succulents. This is one of the items that are not yet 100% complete. I have to still top the soil with a white rock that will give it beautiful contrast! I also have to clean up the plastic liner – oops!
The white outdoor umbrella was purchased from Amazon.
We removed the base in order for it to fit into that back corner. David had pre-filled that corner with a block of cement before the planter boxes went in and he drilled the support into the cement base when we were ready to install it. We are still on the fence on if these umbrellas are the best quality.
We found that it’s difficult to lock them into place which then wares on the support string. However, they are beautiful and inexpensive compared to others on the market! The style of umbrella we needed had to fit in a corner (like this one) and we found that all of those umbrellas are designed and only sold with a base, which is the costly part of the umbrella. It just didn’t make sense to spend hundreds on an outdoor umbrella with an expensive base when we weren’t even planning on using that portion.
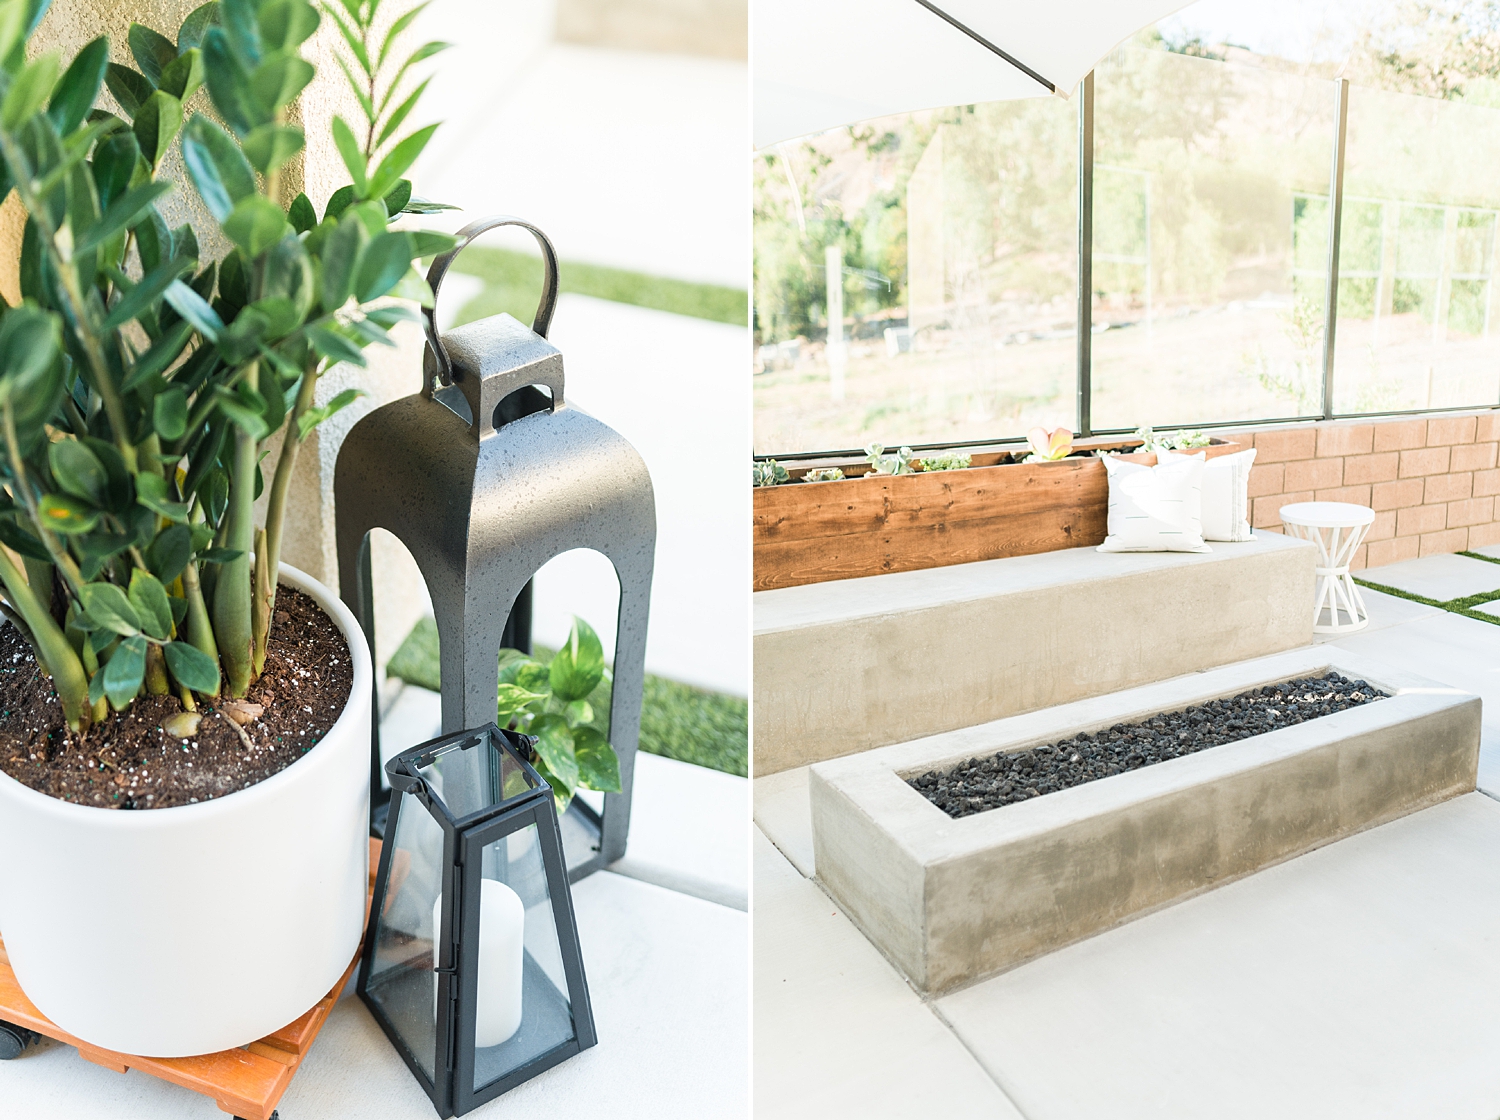
I designed the seat wall and fire pit with a modern look in mind. In my head, I wanted to combine modern with classic and comfort throughout the backyard. The modern elements were incorporated in the cement work. After the firepit was complete, David installed an H burner and black lava rock. The H burner worked perfectly in the space and gives a nice even flame all around the fire pit.
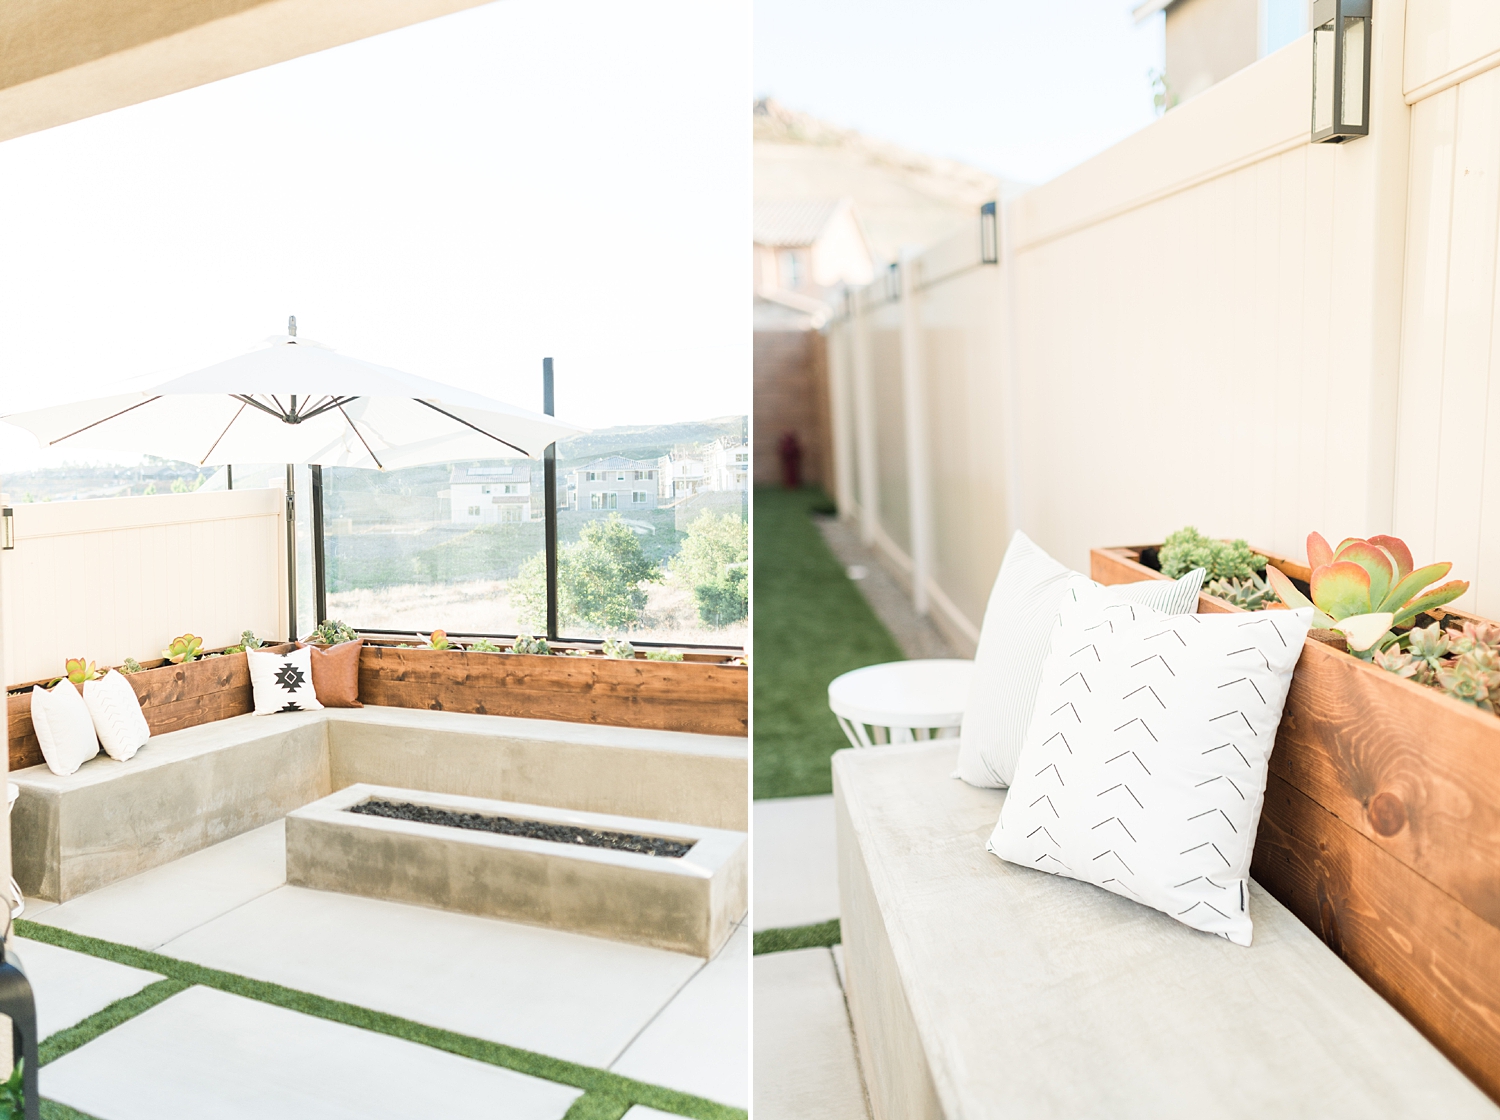
The most common questions we got on Instagram were about our wooden planters that also served as a backrest to the seat wall. I explained what I wanted to David and he built them, I then stained and sealed them.
The longer side is 11ft long and the shorter side is about 9 ft long… because there were SO many questions on these I’m going to go ahead and list the material list we needed to build these. This was also David’s first time building these planter boxes so we don’t have exact steps of how we built them but I’m going to walk you through our process as best I can. I think he did an amazing job by the way!
Materials needed:
common board (size depends on the size of boxes you are building), 2×4’s (as many needed for support), nails, wood screws, wood stain, and a clear deck/outdoor wood sealer.
Tools needed: Table saw and/or a circular saw, impact drill (you can also use a normal drill), nail gun, wood clamps (small and large), and a measuring tape obviously.
David built one panel at a time and then proceeded to nail and drill all the panels together after I had stained and sealed them.
The wood stain was a process and a lot of testing before I found a combination that I liked.
I didn’t want the wood to have a red tone to it and all the stains I used alone left a red undertone that I wasn’t happy with. After sanding them with 380 sandpaper to make them super smooth to lean against, I first stained it with Early American wood stain, let that dry, and proceeded to cover it with Provincial wood stain after that. The order matters, you will get a different color if you went in with Provincial first.
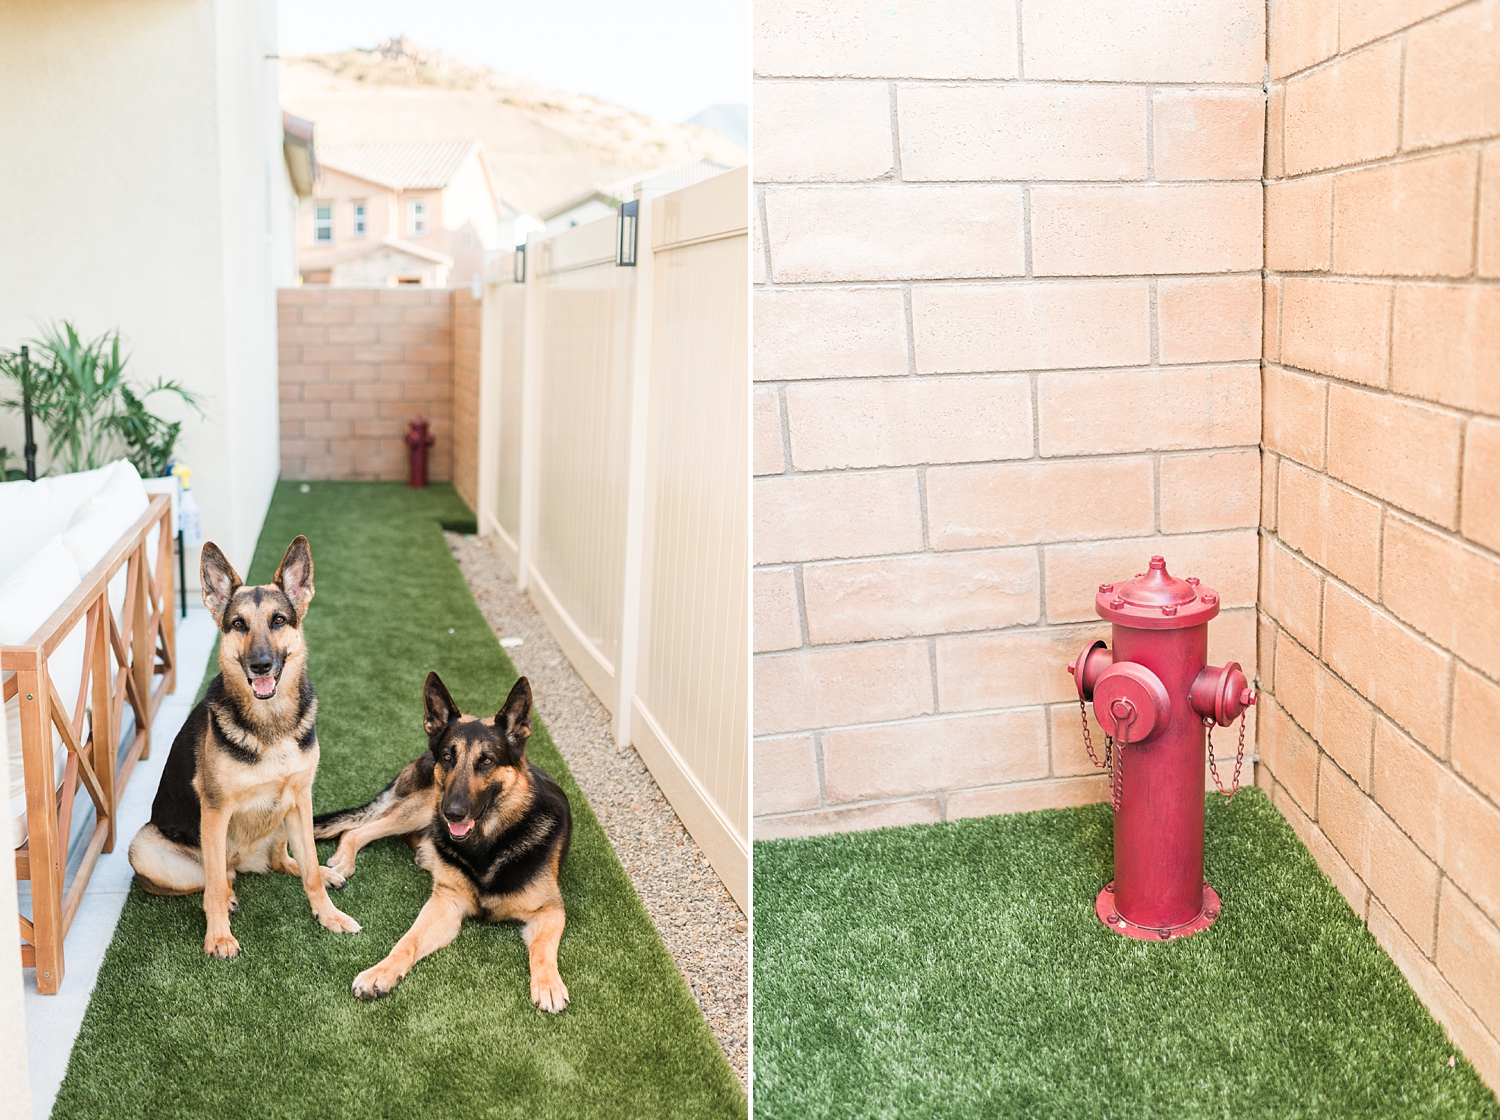
The artificial grass we installed is the K9 grass from ForeverLawn. I feel like this grass requires it’s own blog post but I will try and summarize it here for you guys and why we chose to go with synthetic and why this one specifically.
It’s pretty simple why we went with synthetic, we have dogs. While they are not diggers and they don’t destroy grass their urine and poop will. There’s simply no way to prevent that, especially since we don’t have much space. Real grass would have gone to waist almost immediately. I’ve also heard the horror stories of people buying “pet-friendly” artificial grass that basically just smelled like a kitty litter box all year long – eww!
After several months of research, I kept coming back to K9 grass by foreverlawn.
The grass alone is designed differently than all other artificial grass. Their installation process is ultimately what sold me though. Installation material and process is *just* as important as the grass. If you are considering artificial grass specfically for your pets I highly recommend you look into this company and the several reasons why they are drastically different than the other “dog friendly” artificial grass out there.
Outdoor dog fire hydrant/pee post for Odin was purchase from Amazon.
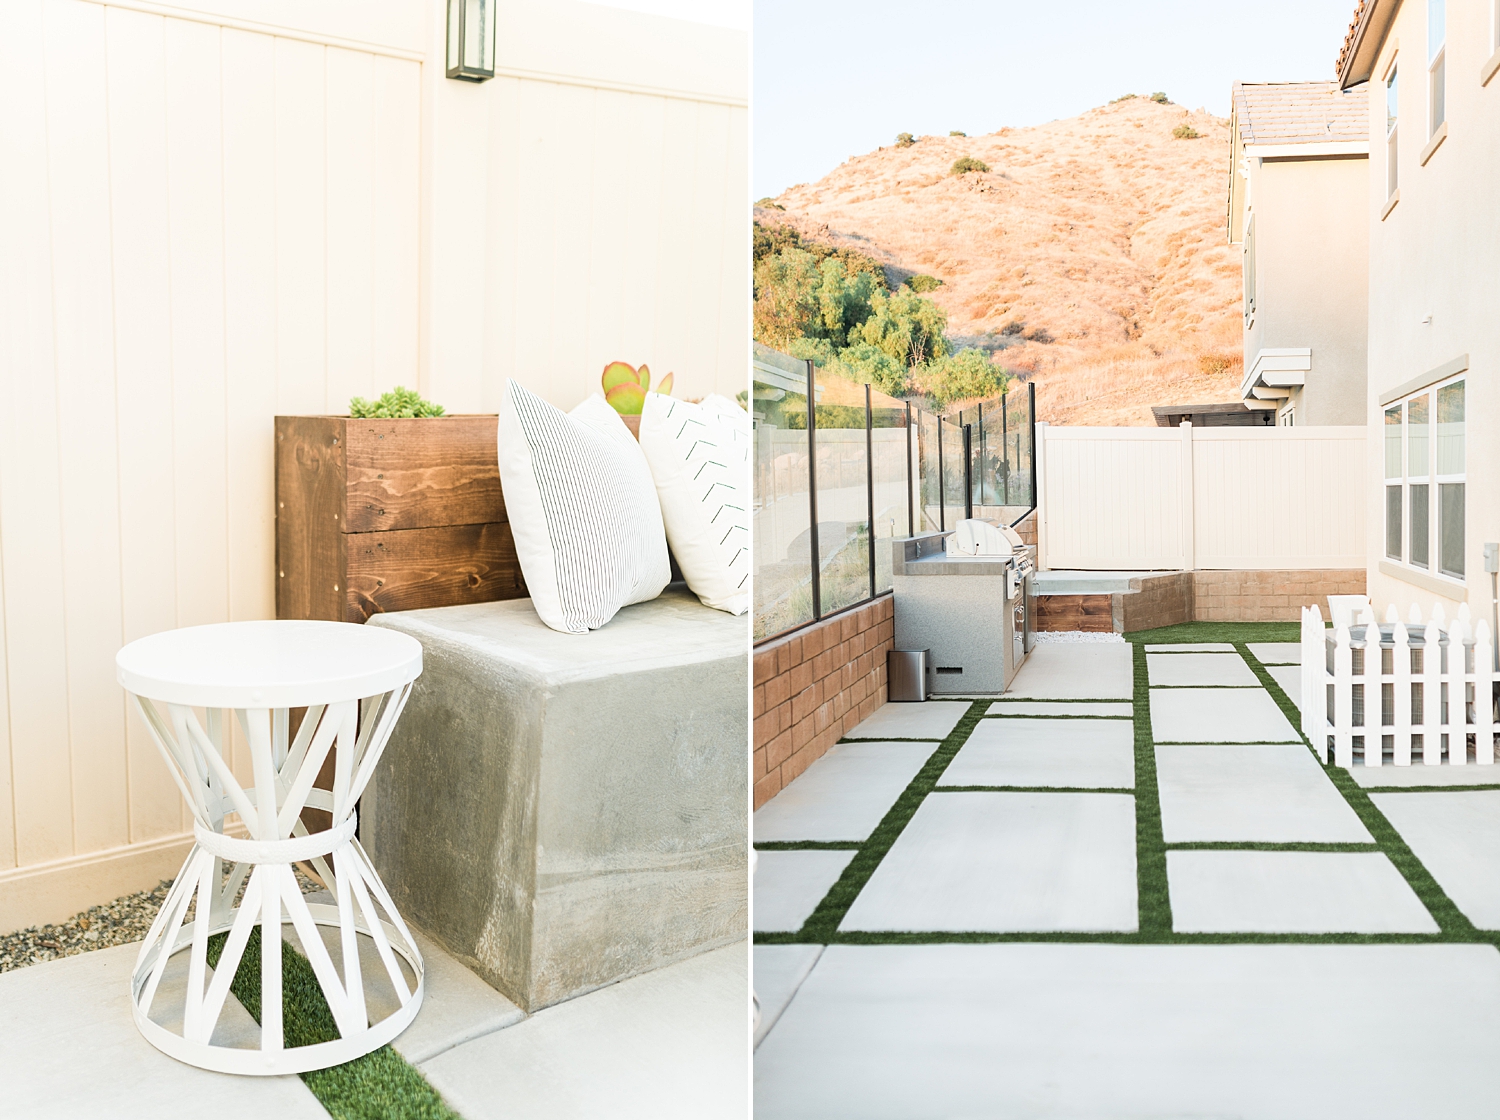
This outdoor white stool was from Home Depot.
The white picket fence around the AC unit we built and painted – it’s a real eyesore having an ac unit in the center of the yard so we spruced it up a bit!
I designed the cement pavers and gave that design to our concrete contractor. The cement pavers were crucial to me! I really wanted them, I knew they would add so much to the space, visually. I wanted to make sure we made the best use out of the small yard we had to work with and these pavers with grass in between them were the perfect pop of dimension to the yard. It actually made the yard appear much larger too! I got the idea from the Magnolia Silos, they have square pavers at the entrance and it’s beautiful. It adds so much to a small grass area, I loved it and adapted the same idea in our yard! I did start off with a square design but a rectangle design ended up working better with the flow of the yard, IMO.
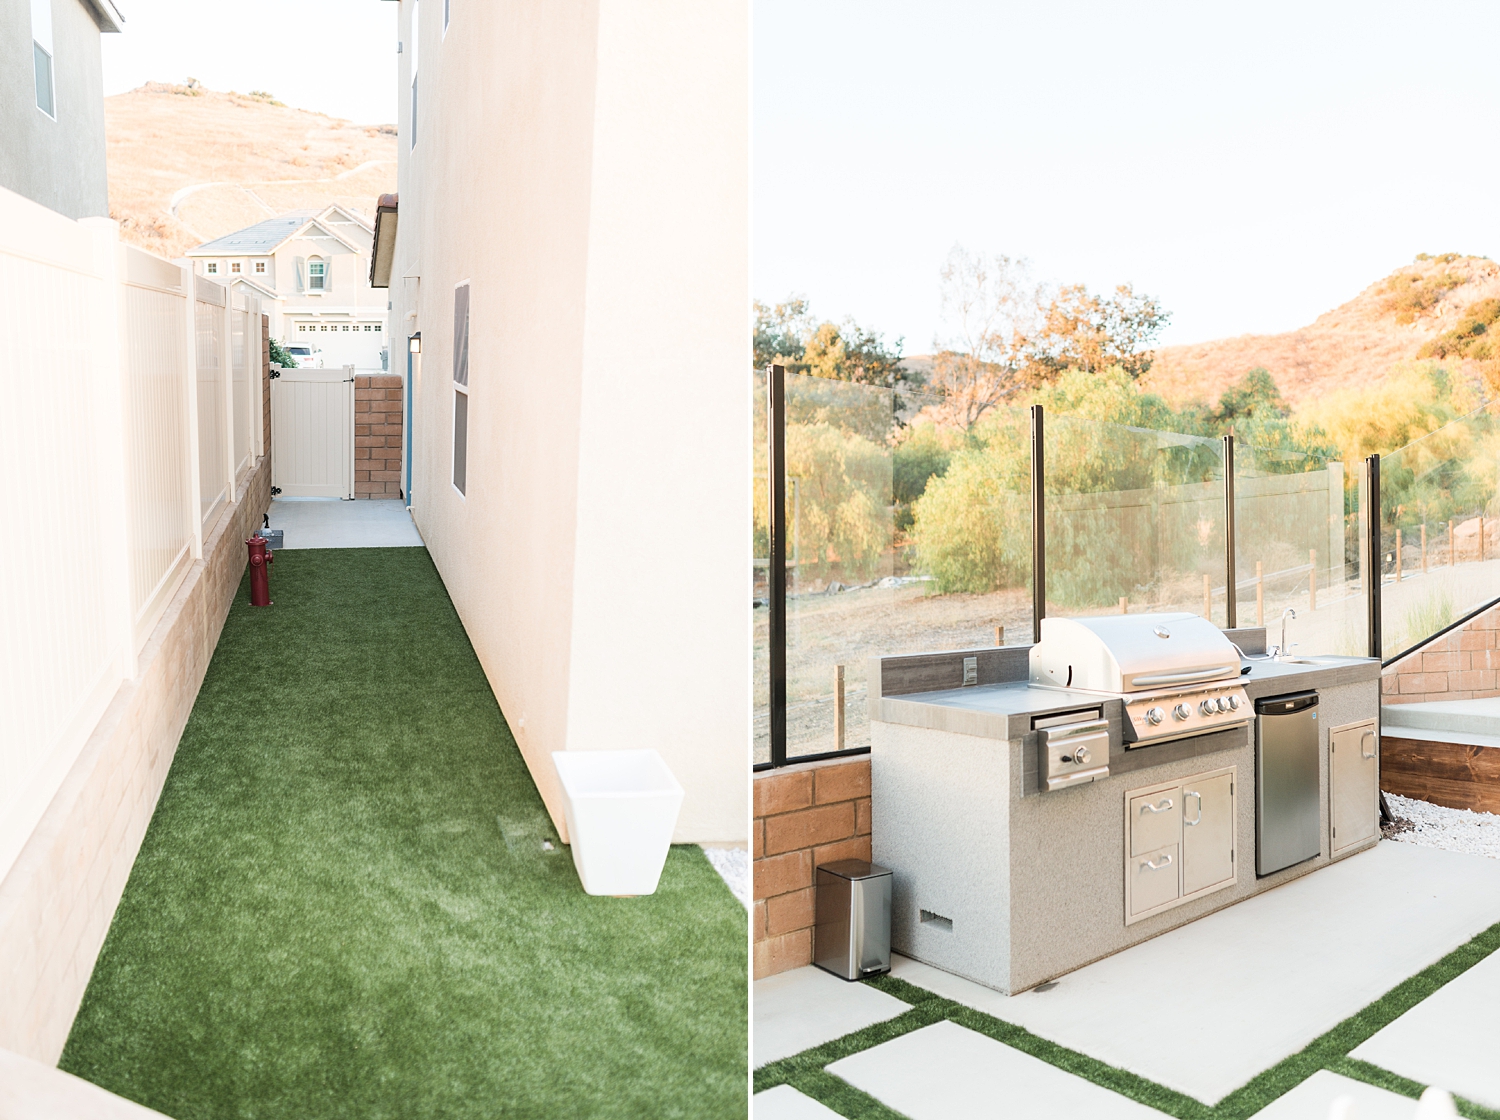
David’s custom outdoor BBQ is from Corona BBQ Islands.
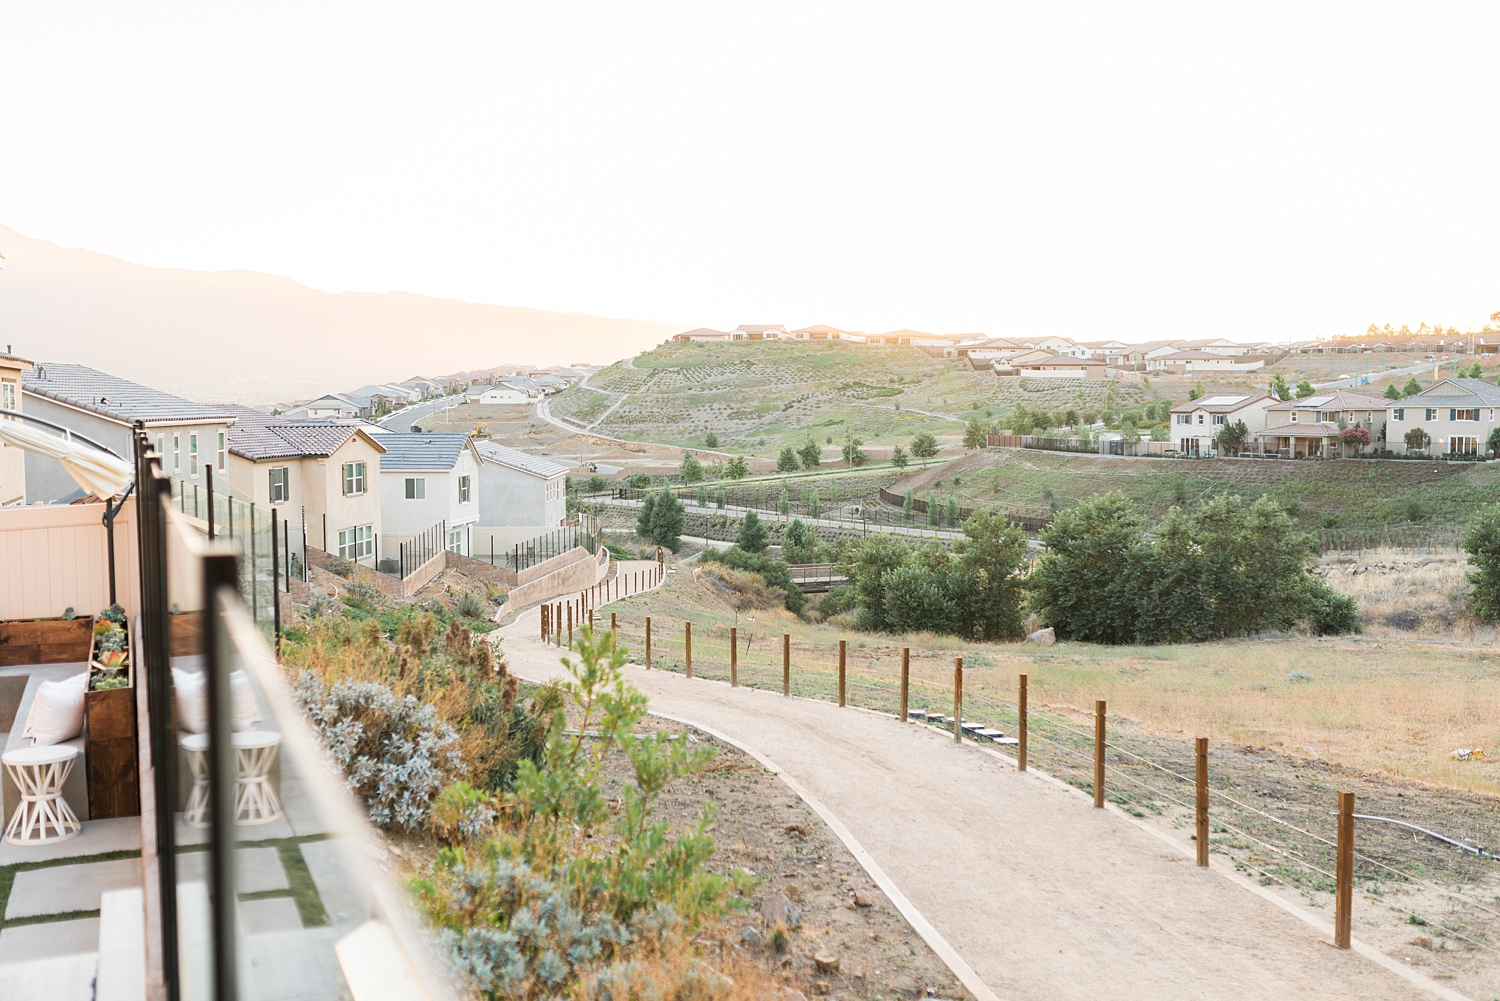
… and finally, this is the beautiful view we get to enjoy every day from our new backyard!
What still needs to be done…
1. Finishing the planter boxes. I want to add a white stone over the soil to give it a pop of color and contrast! I also need to clean up the black liner.
2. Hanging our string lighting (shown in our original mood board).
3. Possibly having to add more plants against the glass wall in the area between the seat wall and BBQ. The glass wall reflects unto the artificial turf creating a magnifying effect for about 10 minutes of the day. Unfortunately, it’s so concentrated (about an inch) that it can eventually burn the top layer of the grass… and it was too big of an investment to let that happen! It’s a very common issue with artificial grass apparently.
Thank you for being part of our journey…
Thank you so much for following along on Instagram and here with our modern backyard makeover and the process it consisted of. I hope I answered all of the questions we received! I tried to make sure I linked everything we used and purchase but if your favorite item was not linked please feel free to reach out! If you would like to see videos during the process make sure and go to my Instagram page and click on the “our home” highlight.
XOXO,
Nataly & David
(^that’s the first time David has ever signed one of my blogs! How fun to have done this together!)
Modern Backyard makeover Modern Backyard makeover
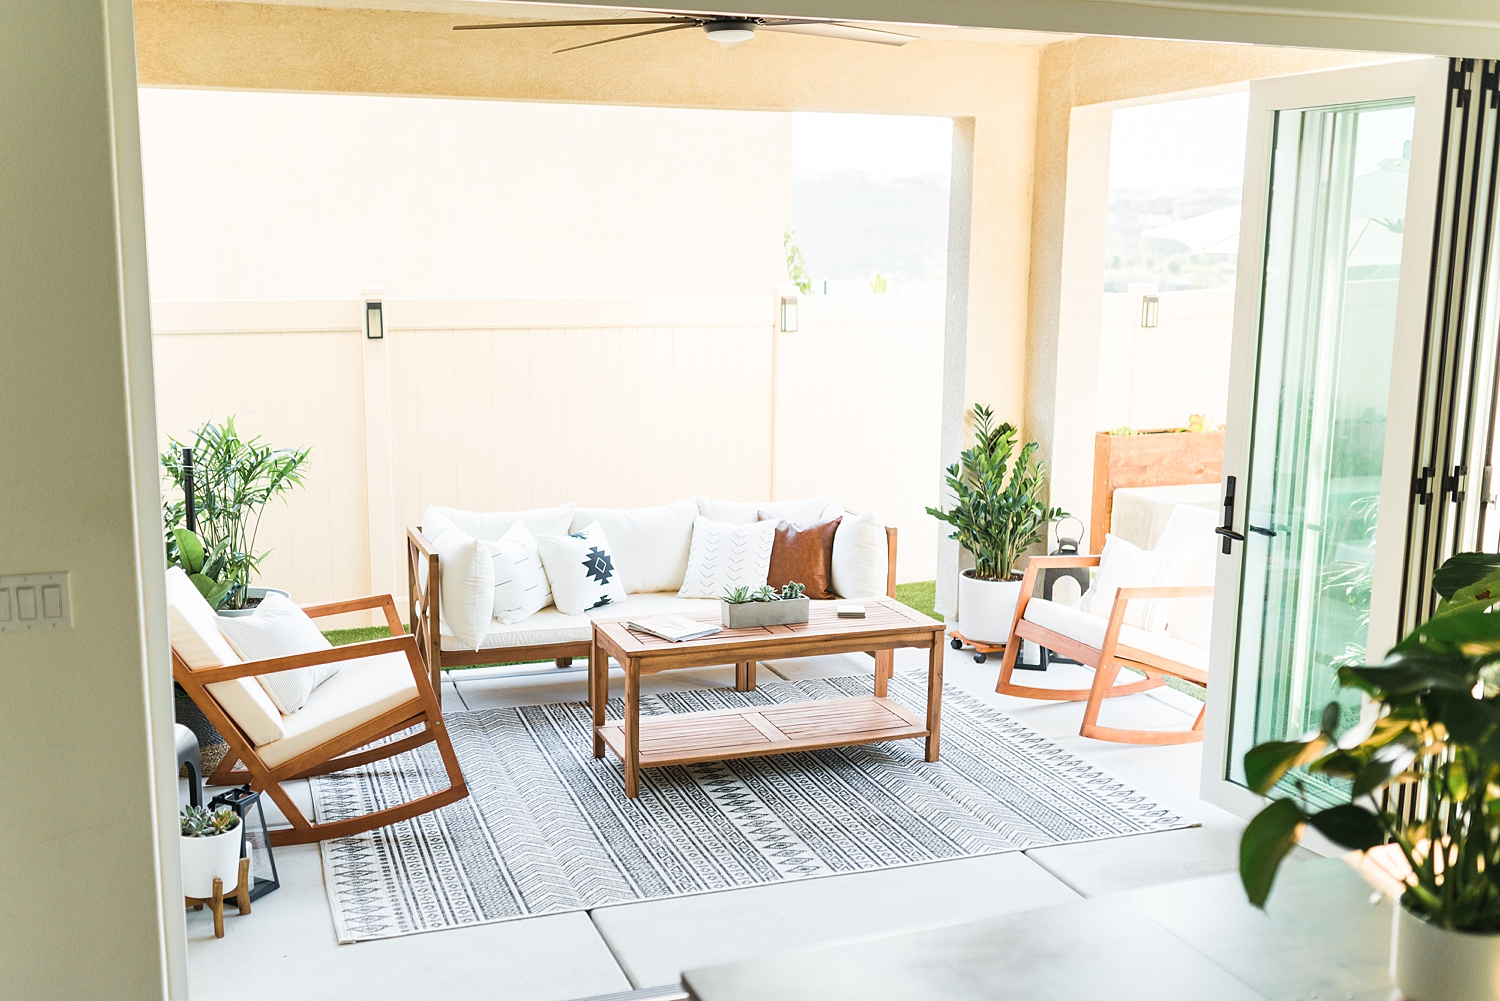
What size rug did you get?
I believe this was a 12×12