First, let me just say THANK YOU for purchasing my mobile presets! I love that you are here and wanting to know more about how to best use them. I want to share with you all my top 3 tips to using my #nhpresets like a pro! At this point, you most likely have already downloaded your #nhpresets and have installed them into your Lightroom Mobile App. I wanted to walk you through how I use my presets to make sure they work perfectly! Every preset is a tad different. Different presets adjust different color tones or vibrancy but they sometimes still need to be adjusted because of the nature of them. They are mobile presets! That means that every single photo taken will look a tad different. They won’t all have the same lighting, colors, or temps. So I’m going to walk you through the 3 steps I take with some of my mobile photos to make sure they are perfect. Let’s dive right in…

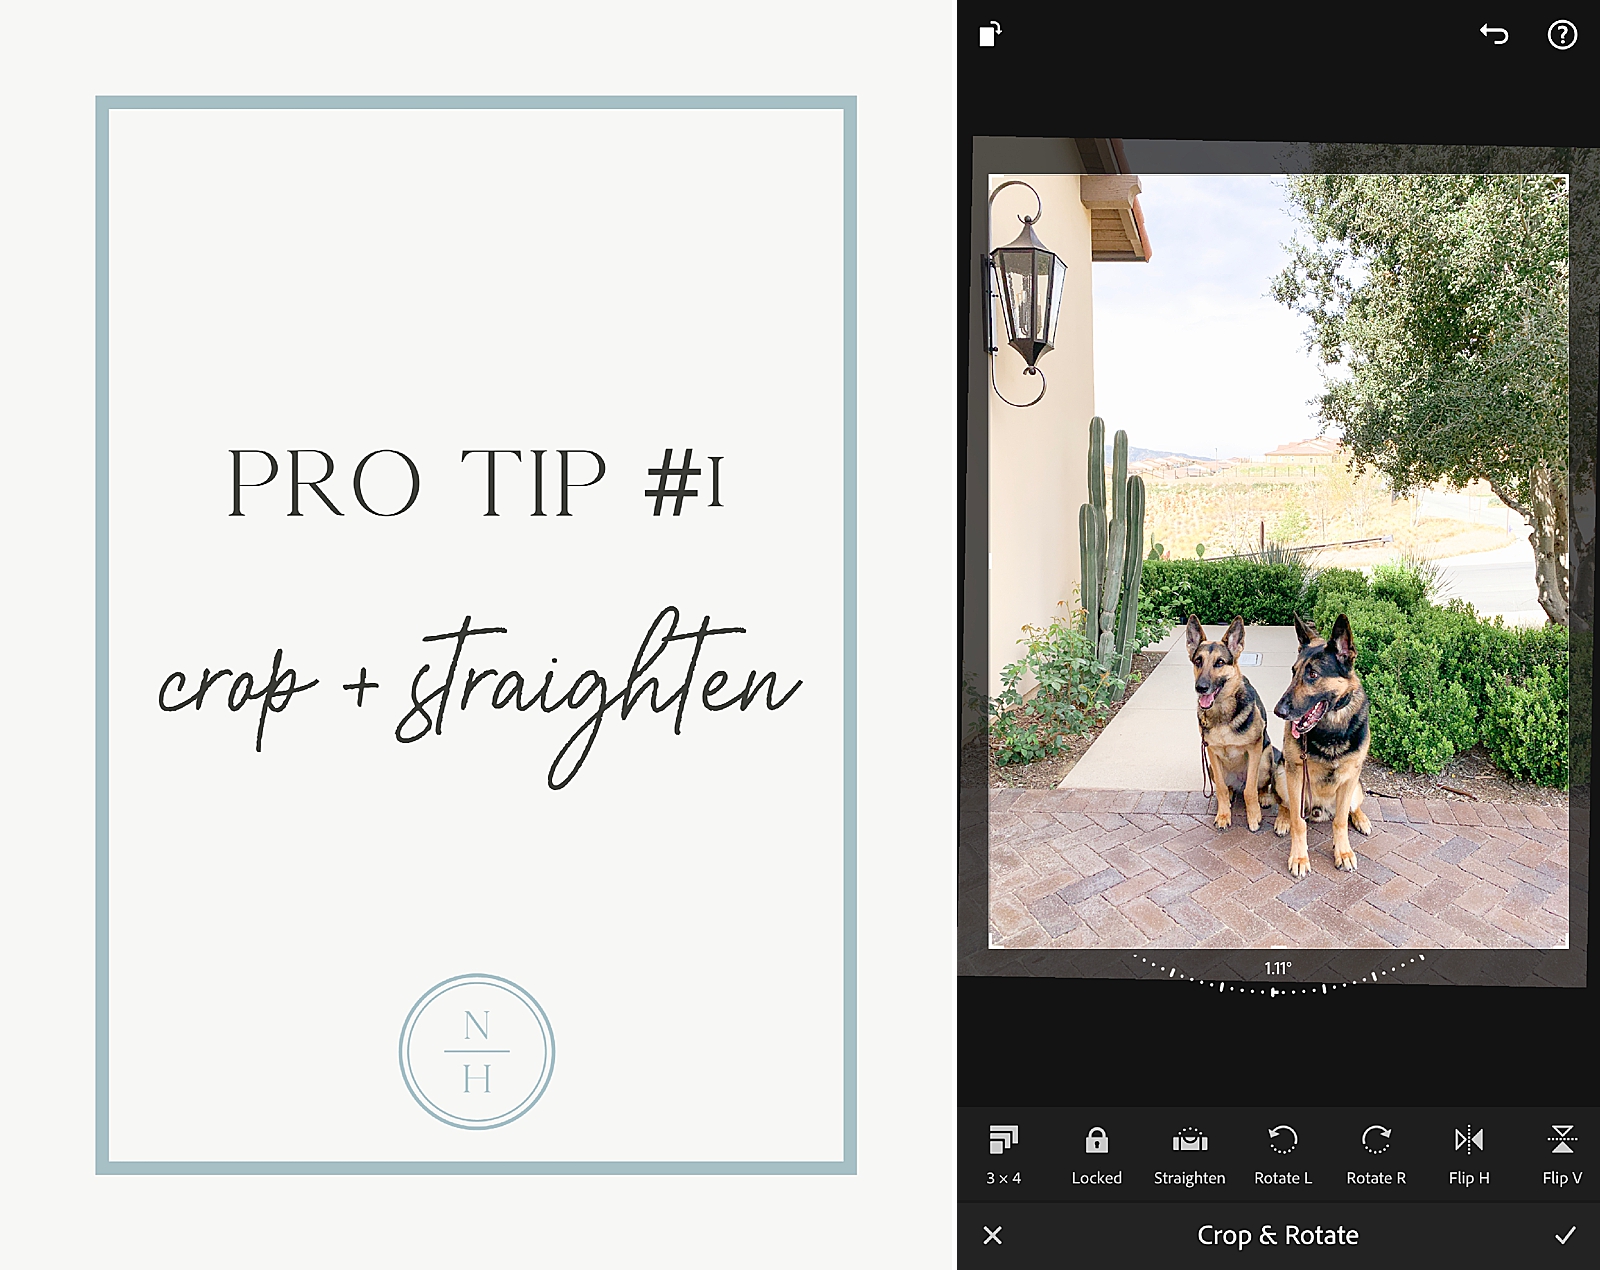
Pro Tip #1 – Crop & Straighten
This is actually the first step I do when editing even my professional work. When I first look at a wedding or engagement photo the first thing I do is crop and straighten it – if it’s needed! I don’t know about you guys but it drives me crazy looking at a beautiful photo of the beach but the horizon line is all sorts of crooked. Maybe it’s just me and my OCD photographer tendencies but it matters! Trust me!
If you use these presets to elevate your Instagram game then composition matters. You want to make sure your photos are appealing. Instagram is a visual app. Your followers want to see pretty photos. One simple way to elevate a photo is to crop and/or straighten it!
How-to: Once in the Lightroom App and you’ve chosen the photo you will see a “crop” icon (3rd icon at the bottom). This option will allow you to both straighten and crop your image as much as you need.

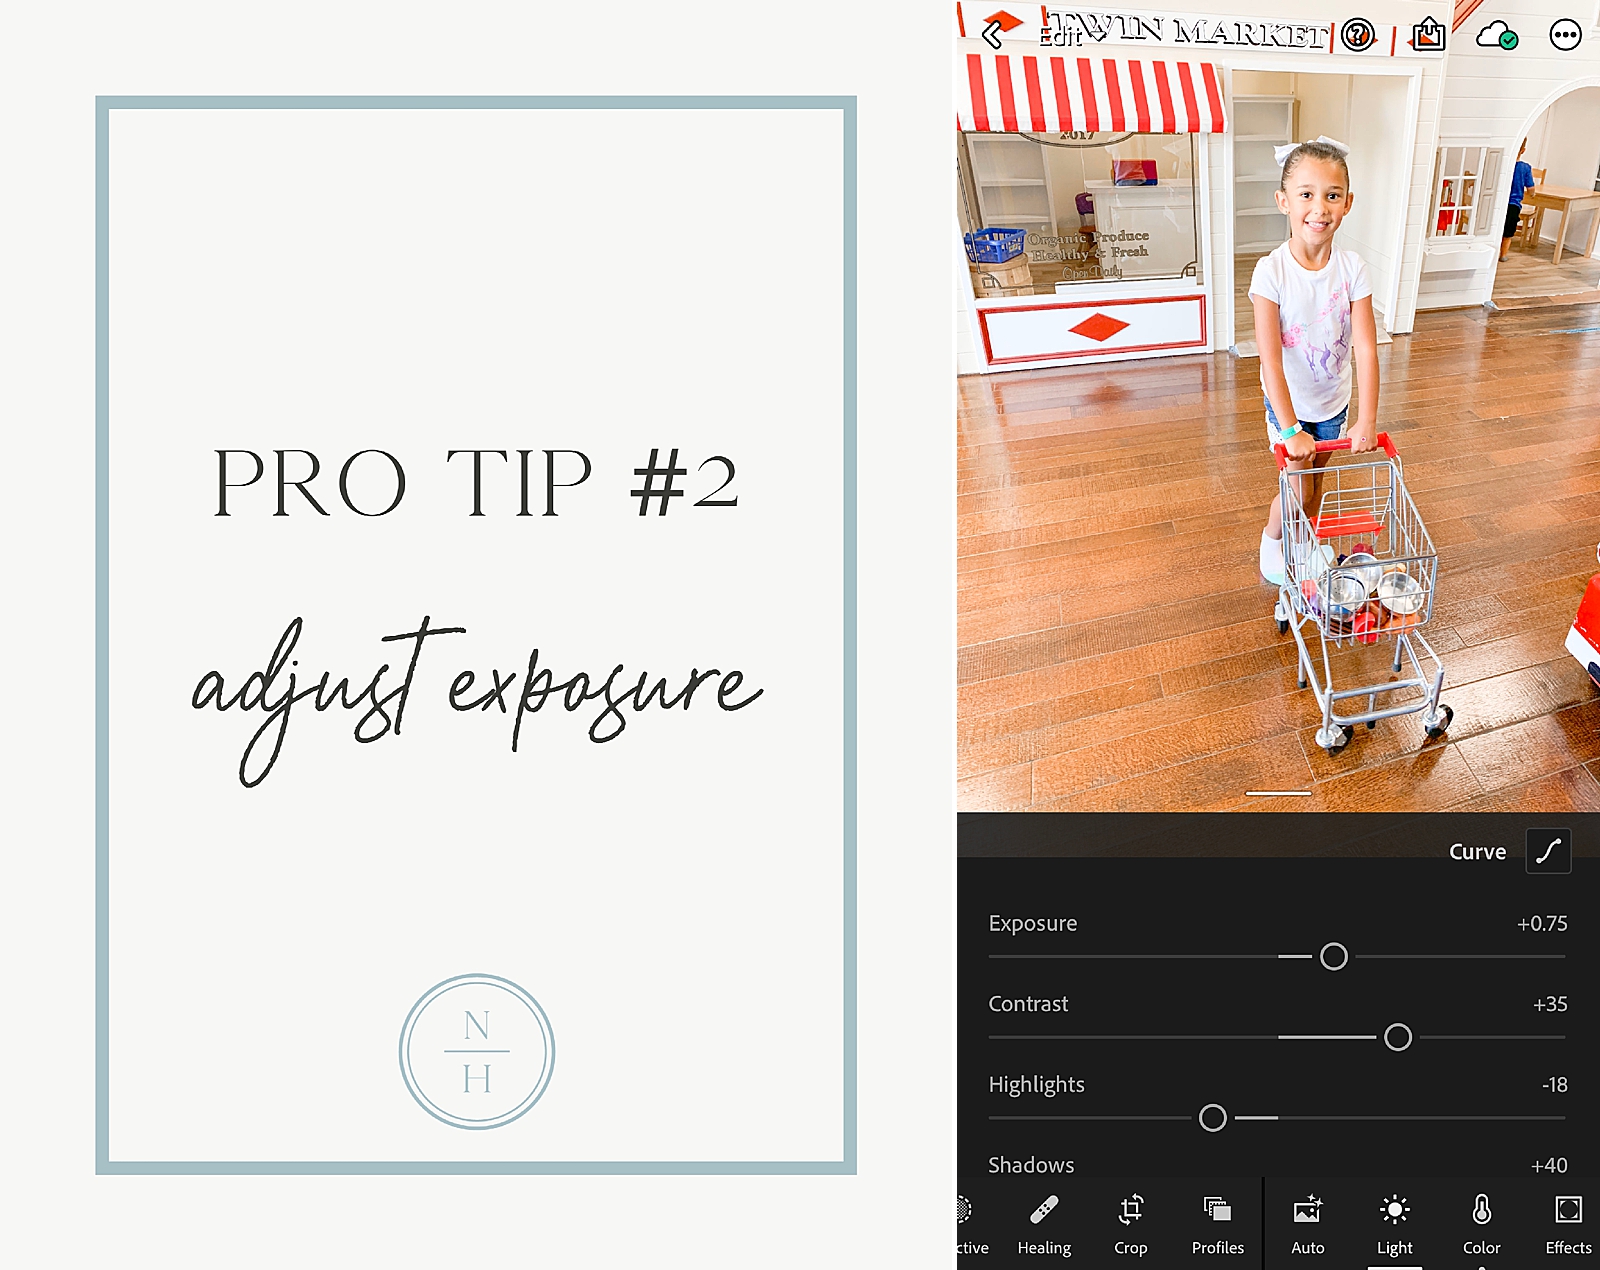
Pro Tip #2 – Adjust Exposure
Okay, you’ve got your mobile photo straight and you’ve picked your favorite #nhpreset. This is the setting I use the absolute most while I editing mobile photos within the Lightroom App. Once I pick my favorite go-to preset I sometimes adjust the exposure. These presets already have a set exposure setting and sometimes depending on your lighting situation you may need to lower or even higher the exposure to better match what you want. Most mobile photos are pretty underexposed and have harsh shadows, this is why most presets already come with a bumped exposure setting. If your photo was properly lit then you may want to bring the exposure down.
How-to: Once you’ve selected your favorite preset, if adjusting the exposure is needed you select the “light” setting and a tab with multiple settings will pop up, the first being exposure. You can slide that up or down until you are happy with the exposure setting.

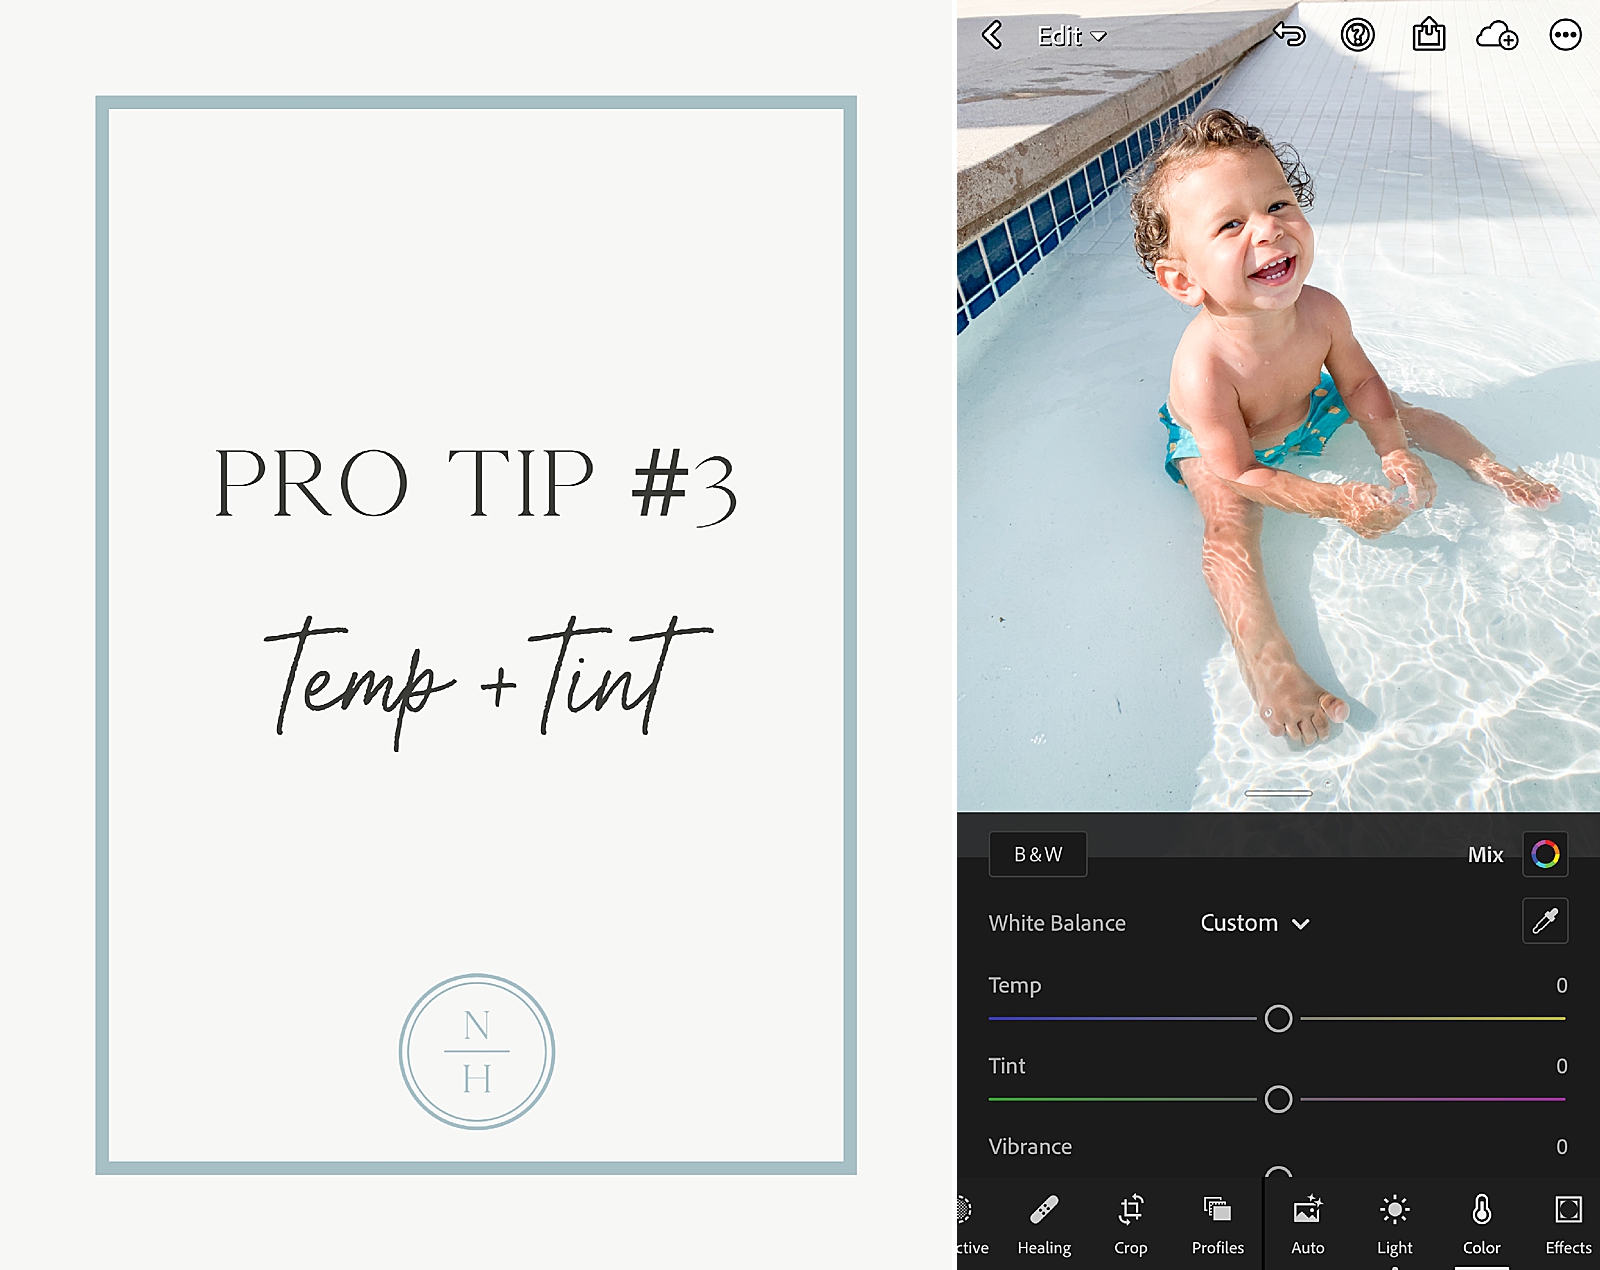
Pro Tip #3 – Adjust Temp + Tint
This adjustment is purely a personal preference. I don’t typically adjust the temperature tab but that’s because I will just choose a different preset. I developed my mobile presets to fix certain color issues so this isn’t often needed but it’s still a powerful tool and one that you should definitely know! If a photo is too warm or cool this is when this setting will come in handy. FYI – most iPhone photos can sometimes be too warm (for my liking at least). I don’t recommend adjusting the tint but adjusting the temp can give you warmer or cooler color tones and skin tones if needed!
How-to: Once you’ve selected your favorite preset you can select the “color” tab and the pop-up tab will give you sliders for temp and tint that you can move up or down.
…And there it is! My Top 3 pointers for using the #nhpresets like a pro!
I’m so glad you’re here! I can’t thank you enough for purchasing my mobile presets and I can’t wait to see them on Instagram! Don’t forget to tag me and use the hashtag #nhpresets so that I can follow! If you haven’t purchased all 20 of my presets for only $24 you can do that below!